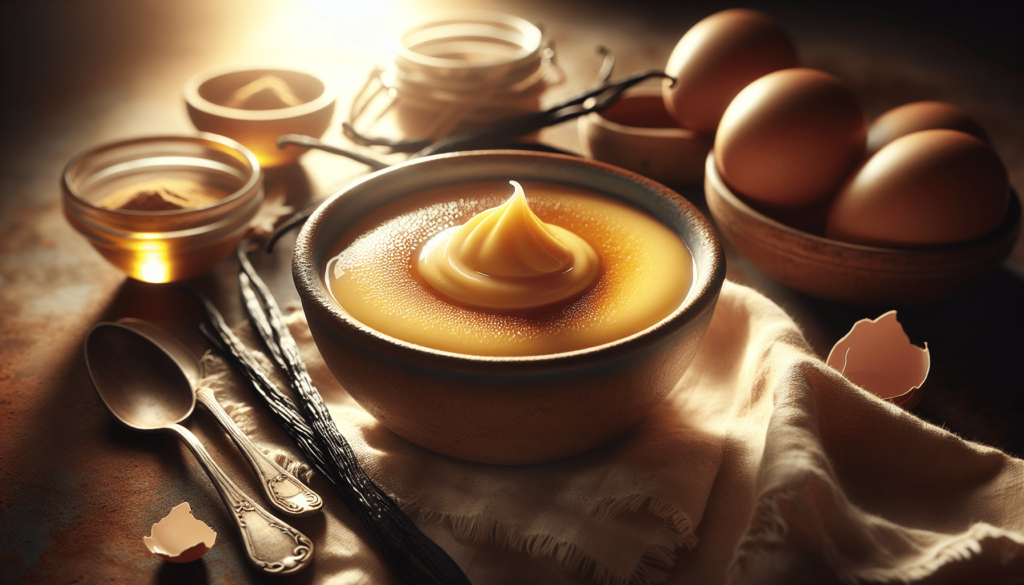
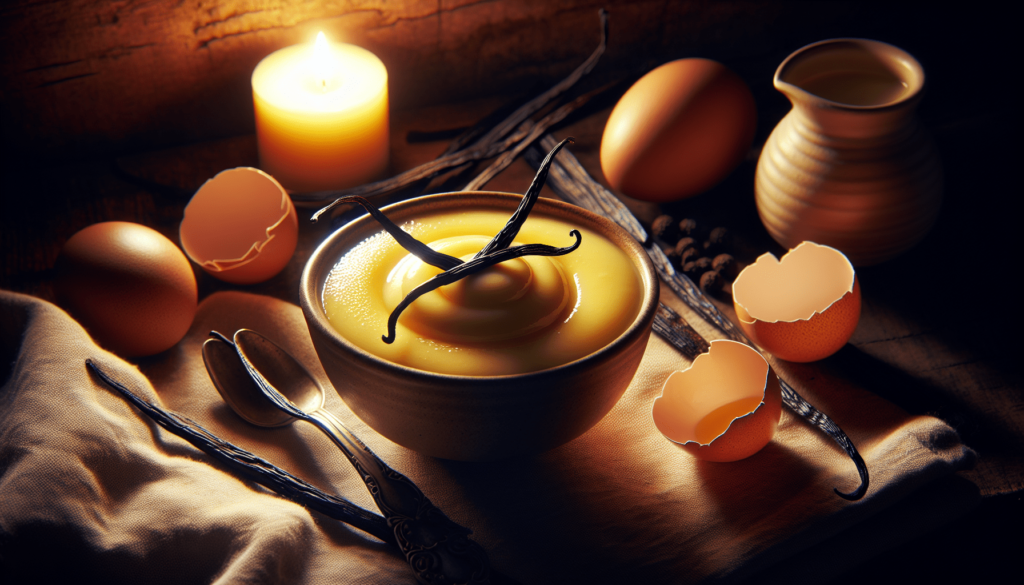
Have you ever wondered how to make that smooth, creamy custard that you’ve enjoyed at your favorite restaurants? Whether it’s a dollop on a dessert or enjoyed on its own, custard has an undeniable charm. This guide will take you through the step-by-step process of making a delicious homemade custard, perfecting the art right in your kitchen.
Understanding Custard
Before diving into the recipe, it’s essential to understand what custard actually is. Custard is a variety of culinary preparations based on a cooked mixture of milk or cream and egg yolk. Its consistency can vary significantly based on its preparation style and intended use.
Types of Custard
Did you know there are different kinds of custard? Let’s explore the main types so you can choose which one suits your taste best.
- Pouring Custard: Often referred to as crème anglaise, this version is a smooth sauce used to accompany desserts.
- Set Custard: Also known as baked custard, it is firmer and often served as a standalone dessert.
- Stirred Custard: This type falls somewhere between the first two and is commonly used as fillings for pastries.
What Makes Custard Special?
Custard stands out due to its rich texture and delicate balance of flavors. The basic ingredients include milk, cream, egg yolks, sugar, and sometimes vanilla or other flavorings. It’s the slow cooking and continuous stirring that help merge these elements into something delightful. Unlike simple puddings, custard needs a gentle touch and precise heat control to avoid curdling.
Ingredients Needed for Homemade Custard
Ready to create your custard? The key to a delightful custard lies in the quality of its ingredients. Here’s what you’ll need:
| Ingredient | Quantity |
|---|---|
| Whole milk | 2 cups |
| Heavy cream | 1 cup |
| Granulated sugar | ¾ cup |
| Large egg yolks | 6 yolks |
| Vanilla extract | 1 tsp |
Why Quality Matters
Choosing the best ingredients can transform a simple dish into something extraordinary. Fresh, high-quality eggs provide a rich flavor and desirable texture, while good milk and cream ensure that creamy finish custards are known for. Vanilla extract adds an aromatic note, making your custard not just a taste, but an experience.

Essential Kitchen Tools
To make custard, you don’t need a lot of fancy equipment — just a few essential tools you probably already have in your kitchen.
- Saucepan: To warm up your milk and cream.
- Whisk: For mixing the ingredients thoroughly.
- Mixing Bowl: To combine eggs and sugar.
- Strainer: To ensure a smooth texture.
- Wooden Spoon or Spatula: To stir the custard as it cooks.
Each of these tools plays a vital role in creating that perfect balance you’re aiming for.
Step-by-Step Preparation
Once you have your ingredients and tools ready, it’s time to create your custard. Follow these steps carefully to ensure success:
Step 1: Heat the Milk and Cream
In your saucepan, combine the milk and cream. Over medium heat, warm the mixture until it’s hot but not boiling. Be sure to stir occasionally to prevent sticking to the bottom of the pan.
Step 2: Mix Eggs and Sugar
While the milk is heating, whisk together the egg yolks and granulated sugar in your mixing bowl until the mixture turns pale and slightly thickened.
Step 3: Combine Mixtures
Gradually add a small amount of the warm milk to the egg mixture, whisking constantly. This step is crucial as it helps to temper the eggs, making sure they don’t curdle when added back to the hot mixture.
Step 4: Thicken the Custard
Return the tempered egg mixture to the saucepan with the remaining milk and cream. Heat gently over medium-low heat, stirring constantly with a wooden spoon or spatula. It’s important to avoid boiling; instead, allow the mixture to thicken until the back of the spoon is coated.
Step 5: Add Vanilla and Strain
Once thickened, remove the custard from heat and stir in the vanilla extract. Pour the mixture through a strainer into a clean bowl to remove any cooked egg bits, ensuring a silky smooth texture.

Tips for the Perfect Custard
Crafting the perfect custard might require a bit of practice and patience. Here are some tips to help you along the way:
- Keep It Low and Slow: Custard prefers gentle heat. Too high a temperature can cause the eggs to curdle, resulting in a lumpy texture.
- Constant Stirring: This helps prevent the custard from sticking to the pan and ensures even cooking.
- Strain It: Always strain your custard to guarantee smoothness and eliminate any accidental lumps.
Creative Variations to Try
Custard can be versatile with just a tweak here and there. If you’re feeling a bit adventurous, why not try these variations?
Chocolate Custard
Add 1 cup of chopped dark chocolate to your warm milk and cream mixture for a rich chocolate twist.
Caramel Custard
Replace a portion of the sugar with caramelized sugar, introducing a deep, rich flavor.
Spiced Custard
Introduce warmth with spices like cinnamon, nutmeg, or cardamom to add a distinct touch to your custard.
Common Mistakes and How to Avoid Them
Even the most seasoned cooks can sometimes run into trouble with custard. Here are a few common mistakes and how you can avoid them:
Curled Custard
If your custard begins to curdle, it’s likely due to high heat. Remember to cook it gently and avoid boiling.
Watery Texture
A custard that won’t set could be a result of incorrect egg amounts or not cooking it long enough. Ensure you adhere to the recipe measurements and cook until thickened.
Overwhelming Egg Flavor
Too many eggs or improper mixing can lead to an unpleasantly eggy custard. Be sure to mix thoroughly and use the right amount of flavoring.
Serving Suggestions
Custard is incredibly versatile and can be enjoyed in numerous ways. Here are a few serving ideas to inspire you:
- With Fresh Fruit: Serve custard warm or chilled with a variety of berries or slices of mango or banana.
- In a Tart: Use your custard as a filling for tarts, topped with fruits or caramelized sugar.
- With Pastries: Serve as a dipping sauce for light, fluffy pastries or even doughnuts for an indulgent treat.
Storing and Reheating Custard
Once you’ve made your custard, you might want to store it for later use or reheat if it’s been chilled. Follow these guidelines for best results:
Storing
Allow the custard to cool and then store it in an airtight container in the refrigerator. It should last up to 3 days.
Reheating
When you’re ready to enjoy your custard again, reheat it gently over a saucepan on low heat, stirring to maintain its texture. Avoid microwaves as they can unevenly heat the custard, leading to a lumpy texture.
Troubleshooting: What Went Wrong?
If your custard doesn’t turn out as expected, don’t fret. Here are a few problems you might encounter and how to resolve them:
Problem: Custard Too Thick
If your custard is thicker than desired, it may have cooked too long. Try adding a bit of milk or cream and whisk to mix.
Problem: Lack of Flavor
For a custard lacking in flavor, ensure you’re using quality vanilla extract. You might also explore other flavorings to enhance its taste.
Conclusion: Ready to Create Your Own Delicious Custard?
Making custard from scratch can be incredibly rewarding once you master the process. Not only do you have control over the ingredients and customization but the satisfaction of creating something so delightful from your own kitchen is unmatched. With these tips and steps, you’re now well equipped to whip up a delicious homemade custard that will leave anyone who tastes it asking for seconds. Why not try it out today? Your next dessert adventure awaits!
Some of the links on this site are affiliate links, which means I may earn a small commission if you click on them and make a purchase, at no additional cost to you. As an Amazon Associate, I earn from qualifying purchases.


