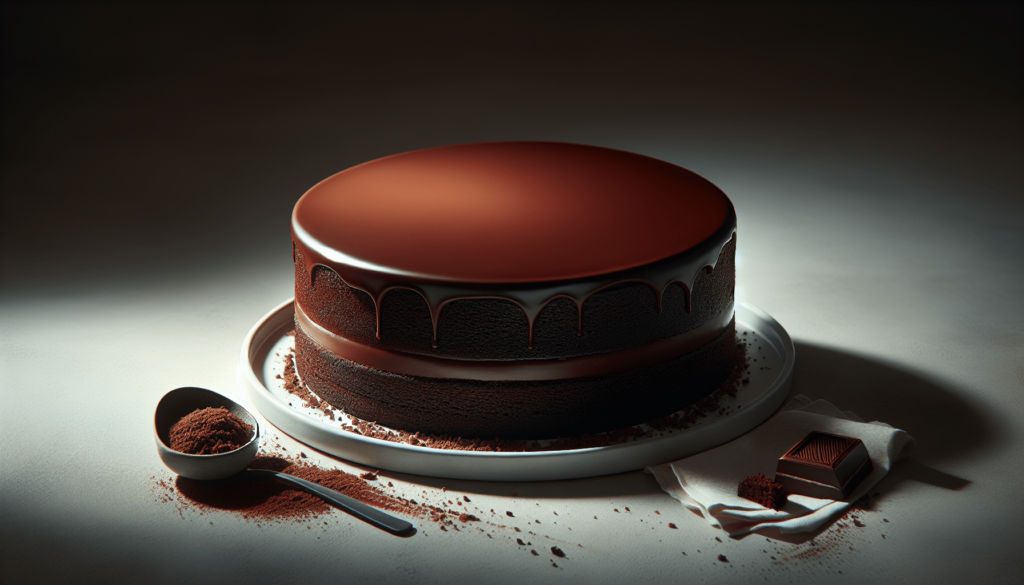
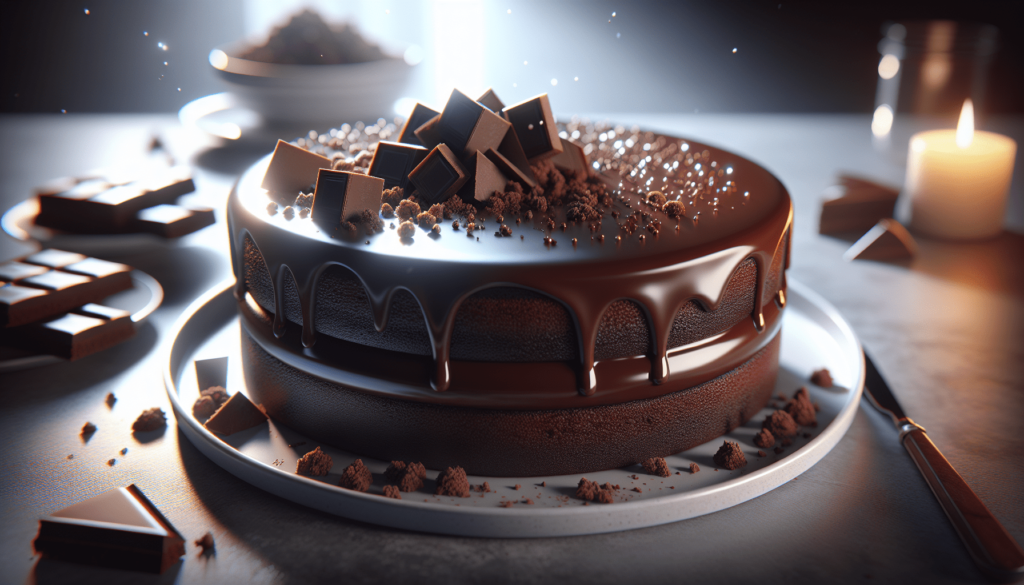
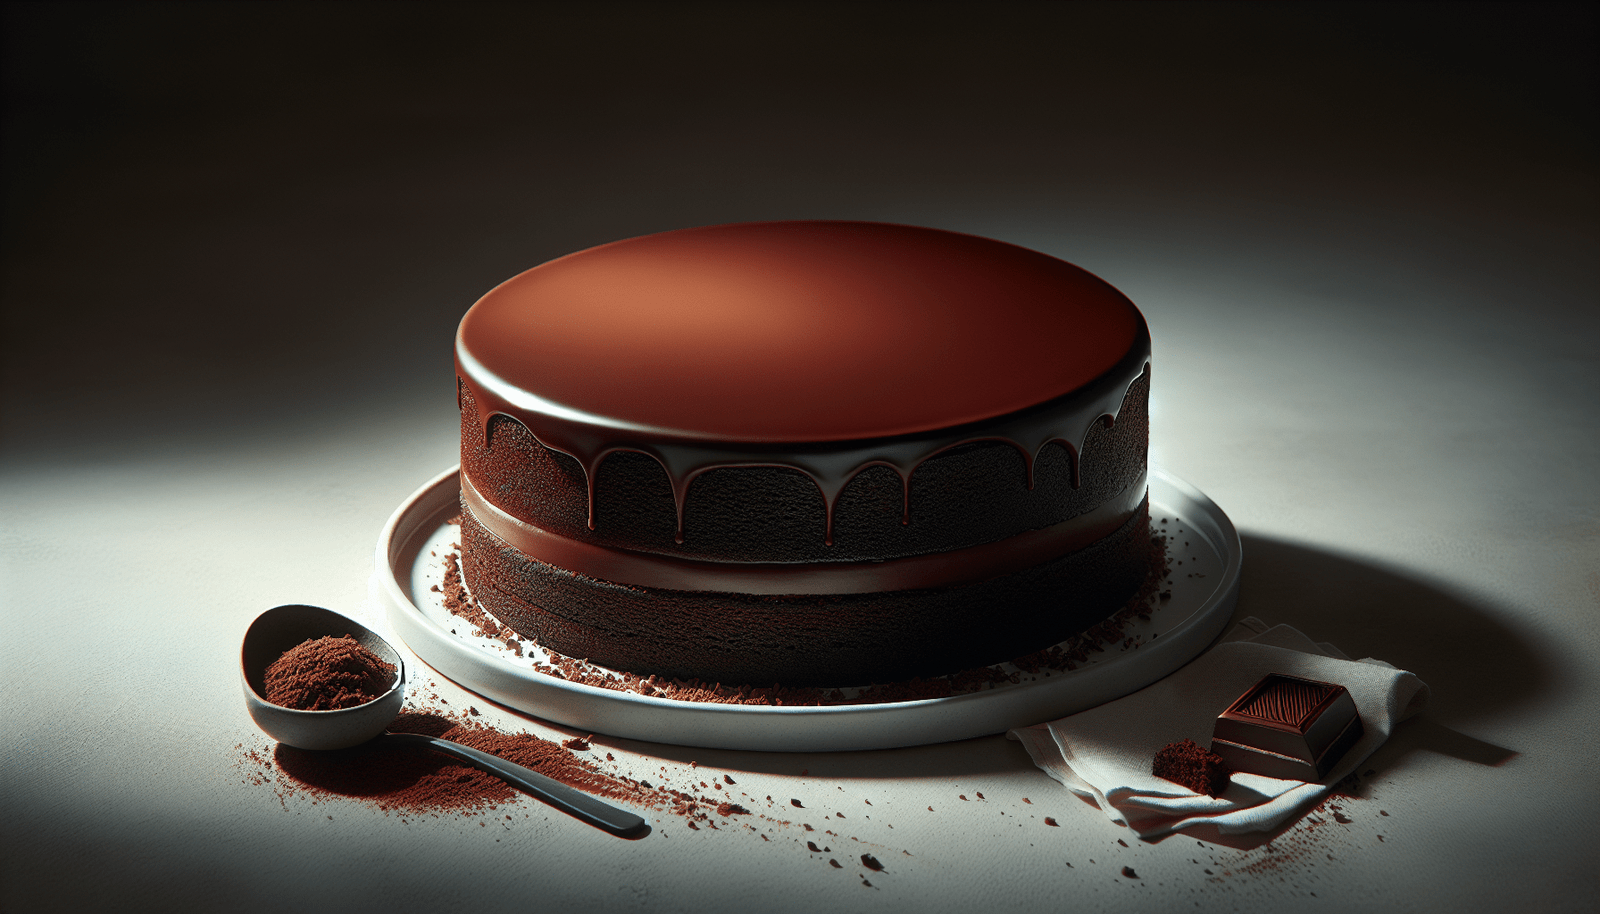
Have you ever found yourself craving a slice of chocolate cake but felt overwhelmed by the seemingly complex recipes out there? You’re not alone! Many of us get caught up in the idea that baking a delicious chocolate cake must require fancy ingredients or advanced techniques. Thankfully, a simple yet indulgent recipe exists that can satisfy your sweet tooth without requiring a culinary degree. In this friendly guide, we will walk through a straightforward chocolate cake recipe step-by-step, making the process enjoyable and stress-free.

Why Chocolate Cake?
Chocolate cake holds a special place in the hearts of dessert lovers. Its rich flavor, moist texture, and universal appeal make it a timeless classic. Whether you’re preparing for a birthday party, cozying up for a night in, or just need a chocolate fix, knowing how to whip up a simple chocolate cake is a skill worth having in your repertoire.
The Ingredients You’ll Need
Before you start, it’s important to gather all your necessary ingredients. This will make the process smoother and more manageable. Rest assured, you likely already have many of these ingredients in your pantry.
| Ingredient | Amount |
|---|---|
| All-purpose flour | 1 and 3/4 cups |
| Granulated sugar | 2 cups |
| Unsweetened cocoa powder | 3/4 cup |
| Baking powder | 1 and 1/2 tsp |
| Baking soda | 1 and 1/2 tsp |
| Salt | 1 tsp |
| Eggs | 2 large |
| Whole milk | 1 cup |
| Vegetable oil | 1/2 cup |
| Vanilla extract | 2 tsp |
| Boiling water | 1 cup |
Understanding the Roles of Ingredients
Understanding what each ingredient does can provide insight into why this cake is so good. The all-purpose flour gives the cake its structure, while sugar adds sweetness and helps hold onto moisture, keeping the cake tender. Cocoa powder, the star of the show, provides the rich chocolate flavor. Baking powder and baking soda are leavening agents, making the cake rise. Salt enhances all the flavors, and the eggs act as a binder. Milk adds tenderness, oil contributes to moistness, and boiling water helps bloom the cocoa, enhancing its flavor. Lastly, vanilla extract adds depth to the overall taste.
The Preparation Process
Setting Up Your Workspace
Before mixing ingredients, ensure your workspace is clean and organized. Preheat your oven to 350°F (175°C), and grease two 9-inch round cake pans. Lining the bottom with parchment paper is also recommended, as it can prevent sticking and make transferring the cake easier.
Mixing Dry Ingredients
In a large bowl, combine your flour, sugar, cocoa powder, baking powder, baking soda, and salt. Stir these dry ingredients with a whisk or a fork to ensure they’re well combined and free of any lumps. A smooth, consistent mixture is key to a well-balanced cake.
Incorporating Wet Ingredients
In a separate bowl, beat the eggs lightly, then add milk, vegetable oil, and vanilla extract. Mix these until they’re well combined. The mixture should look smooth and cohesive.
Combining Dry and Wet Mixtures
Gradually add the wet mixture to your bowl of dry ingredients. Use a wooden spoon or a spatula to mix until just combined, being cautious not to over-mix. Over-mixing can lead to a dense cake, so mix until you see no streaks of flour.
Adding the Secret Ingredient: Boiling Water
Slowly pour the boiling water into the batter, stirring continuously. The batter will be thin, but that’s the secret to keeping the cake moist. This step melts any remaining cocoa powder, enhancing its chocolatey goodness.
Baking to Perfection
Pouring Batter into the Cake Pans
Divide the batter evenly between your prepared cake pans. This will ensure they cook at the same rate, achieving an even bake. Check to ensure they’re at an equivalent level before placing into the oven.
Baking the Cake
Place the cake pans in the preheated oven and bake for 30-35 minutes. You’ll know they’re done when a toothpick inserted in the center comes out clean or with a few crumbs.
Cooling and Removing the Cake from Pans
Once baked, let the cakes cool in their pans for about 10 minutes. This brief cooling period allows the cake to firm up slightly, making handling easier. After 10 minutes, run a knife around the edge of the cake to loosen it, then turn it out onto a wire rack to cool completely.
Frosting Your Cake
The cake itself is delicious, but frosting takes it to the next level. We’ll share a simple chocolate buttercream recipe to complement your cake.
Ingredients for Chocolate Buttercream
| Ingredient | Amount |
|---|---|
| Unsalted butter, softened | 1/2 cup |
| Unsweetened cocoa powder | 1/3 cup |
| Powdered sugar | 3 cups |
| Whole milk or heavy cream | 1/3 cup |
| Vanilla extract | 1 tsp |
Making the Buttercream
Begin by creaming the softened butter in a mixing bowl until smooth. Gradually add your cocoa powder and powdered sugar, alternating with milk, beating with a hand or stand mixer at low speed. This method helps prevent a powdered sugar cloud that can cover your kitchen! Once you’ve achieved a smooth consistency, stir in the vanilla extract for added flavor.
Applying the Frosting
Ensure your cake layers are completely cool before frosting, as any residual heat will melt the buttercream. Start by placing one cake layer on your serving plate. Spread a generous amount of frosting over the top, using a spatula to even it out. Place the second cake layer on top and cover the entire cake with frosting. Don’t worry about perfection; a rustic look can be quite charming!

Customizing Your Cake
One of the best things about a simple chocolate cake is how easy it is to customize. You can add personal touches to suit your preferences or special occasions.
Adding Flavors and Textures
Consider folding in chocolate chips, chopped nuts, or dried fruit into the batter before baking. These additions will add interesting textures and flavors. You can also experiment with extracts like peppermint or almond for a unique twist.
Decorative Options
Toppings can transform the cake’s appearance. Try sprinkling chocolate shavings, cocoa powder, or crushed candy on top. Fresh berries offer a pop of color and a touch of tartness that contrasts beautifully with chocolate.
Tips for Success
Accuracy in Measurements
Precision is important in baking. Use a kitchen scale if possible, especially for the flour, to ensure you’re not adding too much, which can lead to a dry cake. Also, double-check that you have the correct measurements for each ingredient before starting.
Room Temperature Ingredients
For a smoothly mixed batter, make sure your eggs and milk are at room temperature. Cold ingredients might cause the batter to curdle, affecting the cake’s texture.
Understanding Your Oven
Ovens can vary significantly, so paying attention is crucial. If you’re unsure about your oven’s temperature accuracy, consider using an oven thermometer. And while it’s tempting to frequently check on your cake, minimize opening the oven door to maintain a consistent temperature.
Storing and Serving
Storing Your Cake
If you have leftovers (which might not be the case!), store them properly to ensure freshness. An unfrosted cake can be wrapped in plastic and stored at room temperature for a couple of days. Once frosted, cover it and store it in the fridge to prevent the frosting from melting.
Serving Tips
To cut clean slices, warm your knife by running it under hot water and drying it off before cutting the cake. This trick helps slice through chocolate frosting smoothly. Pair each slice with a scoop of vanilla ice cream or a dollop of whipped cream for an extra treat.
Conclusion
Congratulations! You’ve journeyed through the process of baking a simple chocolate cake, from mixing to frosting. With this straightforward recipe and the tips provided, you’re well-equipped to enjoy a homemade chocolate indulgence any time the craving hits or to impress at your next gathering. Remember, practice makes perfect, and each cake is an opportunity to refine your skills and add your creative flair. Enjoy every bite and happy baking!
Some of the links on this site are affiliate links, which means I may earn a small commission if you click on them and make a purchase, at no additional cost to you. As an Amazon Associate, I earn from qualifying purchases.


