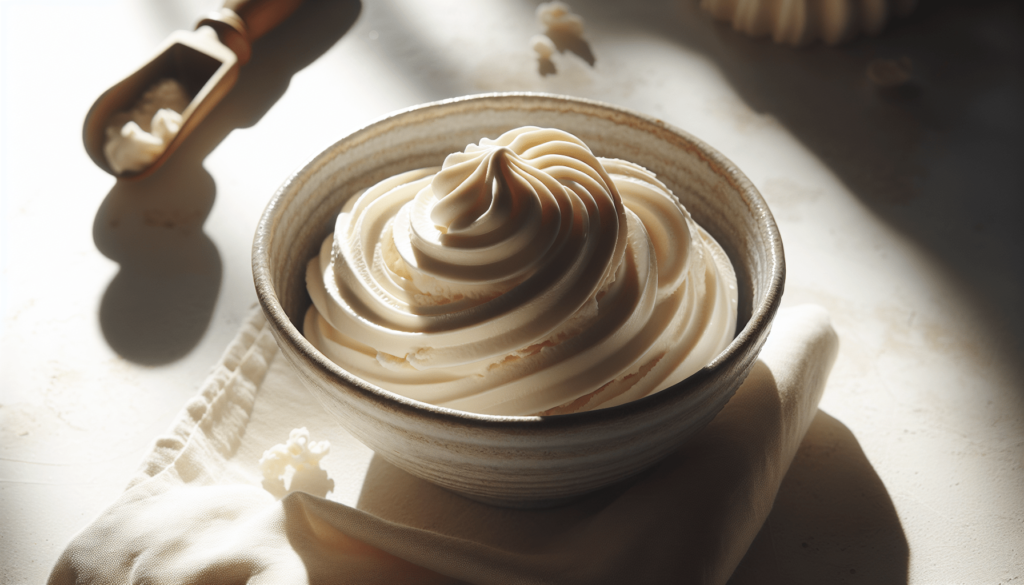
Have you ever wondered if you could make ice cream at home that’s just as delicious as the kind you buy at the store? Making homemade ice cream might seem like a daunting task initially, but with the right recipe and a bit of patience, you can whip up a creamy delight that’s tailored to your taste and dietary preferences. By crafting your ice cream, you’ll discover a world of flavors that go beyond the usual vanilla or chocolate, all without the preservatives or artificial flavors found in commercial brands.
Ingredients You’ll Need
When it comes to making homemade ice cream, having high-quality ingredients makes all the difference. Here’s a simple list of ingredients you might need, depending on the flavor you choose to create:
Basic Ice Cream Base
You’ll need the following core ingredients to make a basic ice cream base, which you can then customize to your liking:
- Heavy Cream: The key to a rich and creamy texture.
- Whole Milk: Balances the richness of the cream while adding volume.
- Granulated Sugar: Sweetens the cream and helps achieve a smooth texture.
- Egg Yolks: These help stabilize the mixture and contribute to a luscious finish.
- Vanilla Extract: Adds a simple but essential flavor note.
Typical Ingredient Quantities
| Ingredient | Quantity |
|---|---|
| Heavy Cream | 2 cups |
| Whole Milk | 1 cup |
| Granulated Sugar | ¾ cup |
| Egg Yolks | 5 large |
| Vanilla Extract | 1 tsp |
Customizing Flavors
The basic ice cream base is your blank canvas. Once you’ve mastered it, you can create virtually any flavor by adding different mix-ins:
- Fruits: Pureed or chopped. Think strawberries, bananas, or peaches.
- Nuts or Chocolate Chips: Toasted almonds, pistachios, or dark chocolate chunks.
- Flavor Extracts or Spices: Almond extract, peppermint, cinnamon.
Steps to Make Homemade Ice Cream
Preparing Your Ice Cream Base
-
Combine Cream and Milk: In a saucepan, combine the heavy cream and whole milk. Heat gently over medium heat until it begins to steam. Do not let it boil.
-
Mix Egg Yolks and Sugar: In a separate bowl, whisk the egg yolks and sugar until the mixture is pale yellow and slightly thickened.
-
Temper the Egg Mixture: Gradually whisk the hot cream into the egg yolk mixture. This process ensures the eggs don’t scramble.
-
Cook the Base: Return the mixture to the saucepan. Cook over low heat, stirring constantly, until it thickens enough to coat the back of a spoon.
-
Add Flavoring: Stir in vanilla extract or any flavoring of your choice.
Chilling and Churning
-
Cool the Mixture: Pour the ice cream base into a clean bowl and let it cool to room temperature. Cover and refrigerate for at least 4 hours or overnight. The colder your mixture, the smoother your ice cream will be.
-
Churn the Ice Cream: Pour the mixture into your ice cream maker and churn according to the manufacturer’s instructions. This usually takes 20-30 minutes.
-
Add Mix-Ins: As the ice cream starts to thicken, you can add in any mix-ins like fruit, chocolate, or nuts.
Freezing to Finish
Once churned, transfer the ice cream to an airtight container and freeze for at least 2 hours for a firmer texture. If you prefer soft serve-like consistency, enjoy it straight from the ice cream maker.

Tips for Creamy Homemade Ice Cream
Perfect Your Custard Base
Quality ingredients and a well-tempered custard base are foundational for a silky ice cream. Ensure you thoroughly mix the sugar and egg yolks for optimal texture.
Choose the Right Equipment
An ice cream maker is ideal for churning, as it incorporates air into the mixture, leading to creamier results. If you don’t have one, you can also use a blender or mixer with a bit more effort.
Experiment with Add-Ins
Feel free to get creative with your add-ins. You can swirl in caramel, chocolate fudge, or fruit jams for more flavor layers. Add these towards the end of the churning process to evenly distribute them without melting.
Troubleshooting Common Problems
Even seasoned chefs face hiccups in the kitchen. Below are solutions to common problems encountered when making homemade ice cream:
Ice Crystals in Your Ice Cream
- Solution: To avoid ice crystals, ensure the custard is chilled thoroughly before churning. Adding a tablespoon of alcohol (like vodka or rum) can also help prevent crystallization since alcohol doesn’t freeze.
Ice Cream is Too Soft
- Solution: This may be due to high sugar content. Double-check your proportions and ensure proper freezing time.
Ice Cream is Grainy
- Solution: This occurs when the mixture gets too hot during cooking. Be gentle and stir constantly during the cooking phase to maintain a silky smooth texture.

Flavor Inspirations
Classic Flavors for Beginners
-
Vanilla Bean: Add a split vanilla bean along with the cream mixture for a richer aroma.
-
Rich Chocolate: Incorporate ½ cup of cocoa powder into the custard base.
-
Strawberry Delight: Stir in 1 cup of blended fresh strawberries during the freezing phase.
Adventurous Choices for Foodies
-
Lavender Honey: Infuse the cream with food-grade lavender flowers and add a swirl of honey before freezing.
-
Salted Caramel Bourbon: Mix in a splash of bourbon and a generous swirl of homemade salted caramel.
-
Matcha Green Tea: Whisk in 1-2 tablespoons of matcha powder with the egg yolk mixture.
Storage Tips for Homemade Ice Cream
Once your ice cream is ready, you’ll want to store it properly to maintain its best quality. Use an airtight container to minimize exposure to air, as this can cause freezer burn. Press a piece of wax paper or plastic wrap directly onto the surface before sealing to further prevent ice crystals.
With these storage practices, your homemade ice cream should keep its flavor and texture for up to two weeks. After that period, it may begin to lose its freshness.
Conclusion
Creating homemade ice cream is a rewarding kitchen adventure that allows you to indulge in your favorite flavors, customized to your liking. By starting with a solid base recipe and experimenting with different ingredients, the possibilities are nearly endless. Not only will you impress friends and family with your culinary prowess, but you’ll also enjoy a sweet treat that’s free of unnecessary additives. So, the next time you have a craving for something sweet, consider whipping up a batch of your own homemade ice cream.
Some of the links on this site are affiliate links, which means I may earn a small commission if you click on them and make a purchase, at no additional cost to you. As an Amazon Associate, I earn from qualifying purchases.


