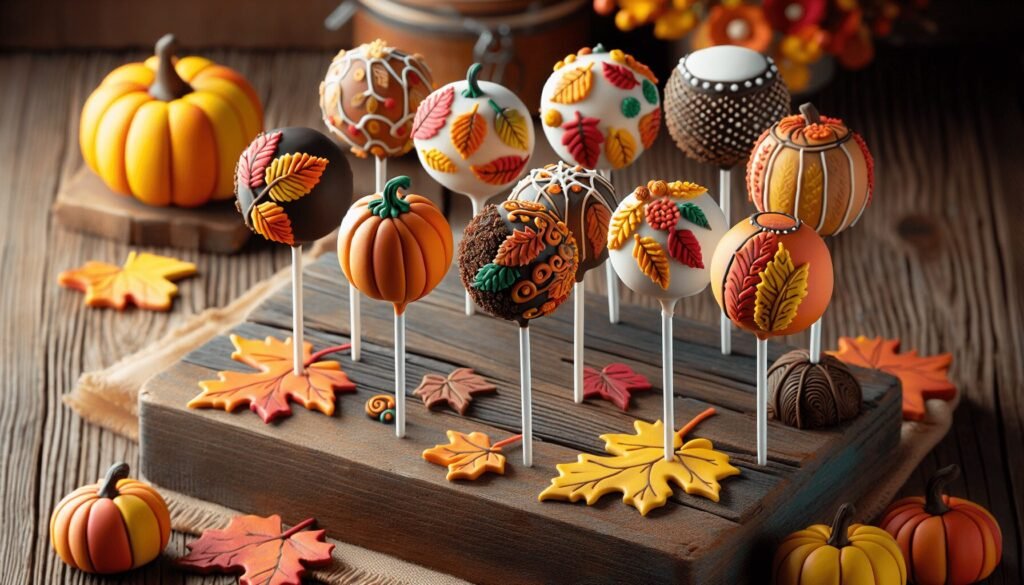
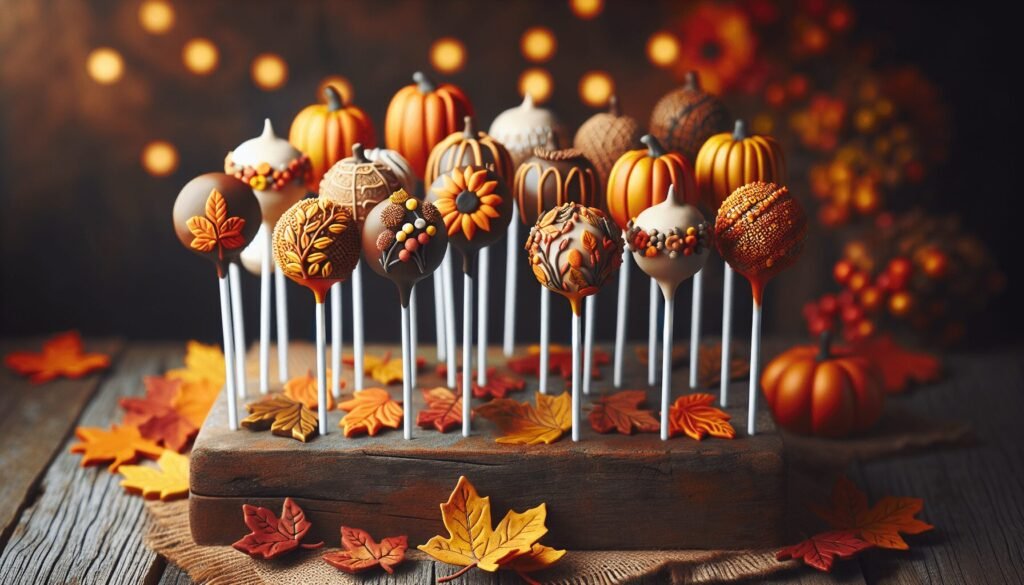
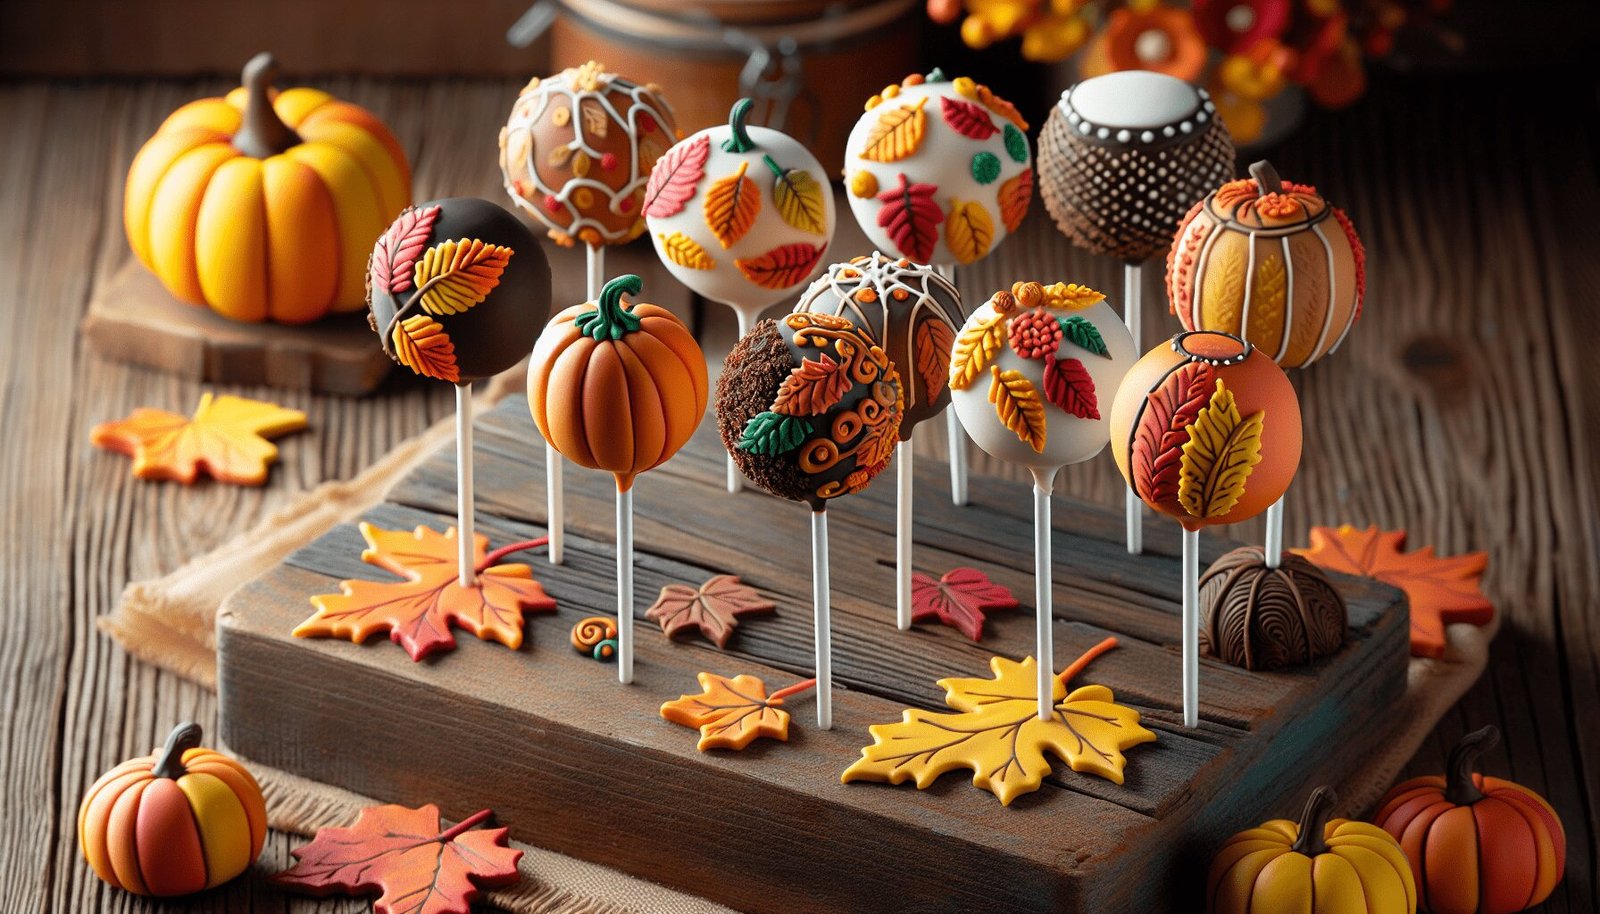
Have you ever wanted to bring an incredible burst of fall flavors to your dessert table? Look no further than crafting your very own Fall Cake Pops! These delightful, bite-sized treats are perfect for capturing the essence of the season, combining the coziness of autumn spices with the fun, portable nature of cake pops. Let’s delve into all the steps and tips to make your fall baking experience both enjoyable and successful!

Ingredients
Getting the right ingredients is crucial to making the perfect fall cake pops. Below is a breakdown of what you’ll need:
Basic Ingredients
To create your masterpiece, you’ll need:
| Ingredient | Quantity |
|---|---|
| Cake mix (any flavor) | 1 box |
| Water | As per mix |
| Vegetable oil | As per mix |
| Eggs | As per mix |
For the Frosting
The frosting binds the cake together to form the cake pops. Here’s what you’ll need:
| Ingredient | Quantity |
|---|---|
| Buttercream or cream cheese frosting | 1 cup (approx.) |
For Decoration
Your decorations will set the theme for fall:
| Ingredient | Quantity |
|---|---|
| Candy Melts (various colors) | 2-3 bags |
| Sprinkles, edible glitter | As desired |
| Mini pretzels | Approx. 20 |
Equipment
Don’t forget these essential tools:
| Item | Quantity |
|---|---|
| Cake pop sticks | Approx. 20 |
| Styrofoam block or cake pop stand | 1-2 |
| Baking Sheet | 1 |
| Parchment Paper | 1 sheet |
| Mixing bowls | 2-3 |
| Microwave-safe bowls | 2-3 |
Directions
Now that you have gathered all your ingredients and equipment, let’s head to the kitchen and start baking.
Step 1: Bake the Cake
Follow these easy steps to bake the base of your cake pops:
- Preheat your oven: Set it to 350°F (175°C) or follow the cake mix instructions.
- Mix the cake batter: Use the boxed cake mix along with water, oil, and eggs as directed on the package.
- Bake: Pour the mixture into a greased baking pan and bake until a toothpick comes out clean, usually around 25-30 minutes.
- Cool the cake: Let it sit until it’s fully cooled to make it easier to crumble.
Step 2: Crumble the Cake
Once the cake is cool:
- Break the cake: Use your hands to crumble the cake into a large mixing bowl. Aim for fine crumbs.
- Mix with frosting: Add frosting gradually. Start with half a cup and mix, adding more if necessary. The mixture should be moist enough to hold its shape when pressed.
Step 3: Form the Cake Balls
Now that your cake and frosting mixture is ready:
- Form balls: Roll the mixture into 1-1.5 inch balls using your hands.
- Chill: Place the balls on a baking sheet lined with parchment paper and refrigerate for at least 2 hours or freeze for 1 hour. This helps the cake pops hold their shape when dipping.
Step 4: Prepare for Dipping
While the cake balls are chilling:
- Melt the candy melts: Use microwave-safe bowls and follow the package instructions. Melt in 30-second intervals, stirring each time, until smooth.
- Prepare the sticks: Dip the end of each cake pop stick into the melted candy, then insert it halfway into each chilled cake ball. This acts like a glue, securing the stick to the cake ball.
Step 5: Dip the Cake Pops
Get ready for the fun part:
- Dip into candy melts: Hold the stick and dip each cake pop into the melted candy until fully covered. Gently tap off any excess.
- Decorate: Before the coating sets, add sprinkles or drizzle with another color of melted candy.
Step 6: Dry and Set
Place the dipped cake pops stick-side down into a Styrofoam block or cake pop stand and let them set completely.
Tips and Tricks
Achieving the Perfect Consistency
Finding the right balance between cake and frosting is key. If your mixture is too dry, the cake pops will crumble. If too moist, they won’t hold their shape well.
Coloring and Decoration
Using fall-themed colors can make your cake pops extra festive. Mix red, yellow, and orange candy melts to encapsulate the season. You can use food coloring for more precise colors if needed.
Storage
To keep your cake pops fresh:
- At Room Temperature: They can last for about 3-4 days.
- Refrigeration: Store in an airtight container for up to a week.
Variations
Get creative with these variations:
Pumpkin Spice Cake Pops
Add 1 teaspoon of pumpkin spice to your cake mix and use cream cheese frosting for a seasonal twist.
Apple Cinnamon Cake Pops
Use an apple-flavored cake mix and add a teaspoon of cinnamon to capture the essence of fall.
Chocolate Maple Cake Pops
Combine a chocolate cake mix with a hint of maple extract for a rich, fall-flavored treat.

Troubleshooting
Cracking Cake Pops
If your cake pops are cracking:
- Ensure they are fully chilled before dipping.
- Avoid overloading with frosting, as the extra moisture can cause cracks when the pop expands.
Uneven Coating
For a smoother finish:
- Hold the pop at an angle and rotate while dipping.
- Tap off excess gently but thoroughly.
Extra Fun Ideas
Themed Designs
You can shape the cake pops into pumpkins, leaves, or acorns for a more thematic approach. Use colored candy melts for detail work.
Flavor Infusions
Infuse your cake pops with different spices like nutmeg, cloves, or allspice to add layers to the flavors.
Safety Considerations
Allergies
Always check for common allergens in your ingredients, such as dairy, nuts, or gluten.
Equipment Safety
Be cautious when using a microwave for melting candy, as overheated candy melts can cause burns.
Cleanliness
Ensure all utensils and kitchen surfaces are clean to avoid any contamination during the process.
Conclusion
Creating your very own Fall Cake Pops is not only a fun baking project but also a delicious way to celebrate the season. With the right ingredients, a bit of patience, and a dash of creativity, you’ll be able to create treats that are both visually appealing and irresistibly tasty. Whether for a festive gathering or just a cozy day at home, cake pops capture the spirit of fall in every bite. Enjoy your baking adventure!
Some of the links on this site are affiliate links, which means I may earn a small commission if you click on them and make a purchase, at no additional cost to you. As an Amazon Associate, I earn from qualifying purchases.


