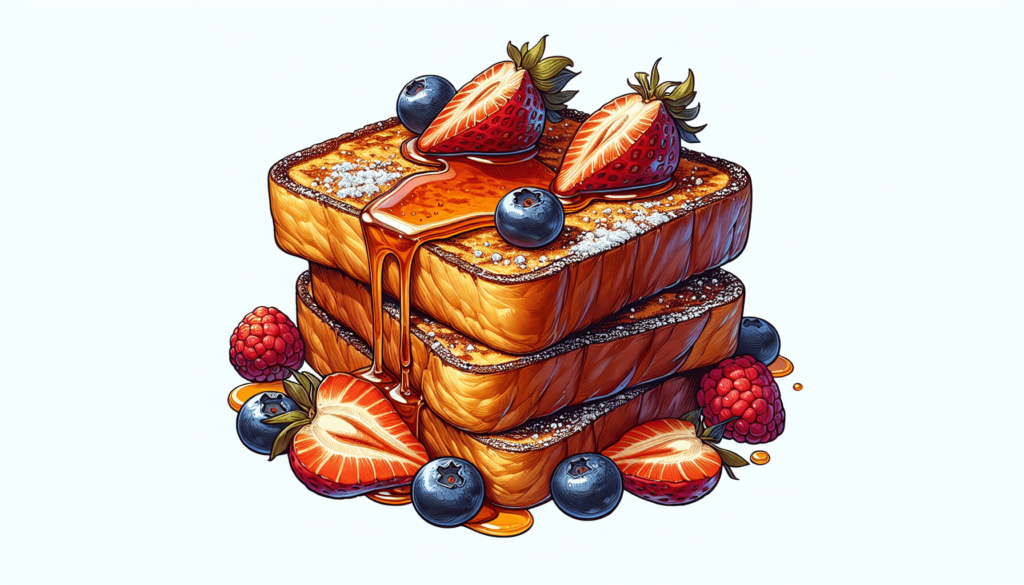
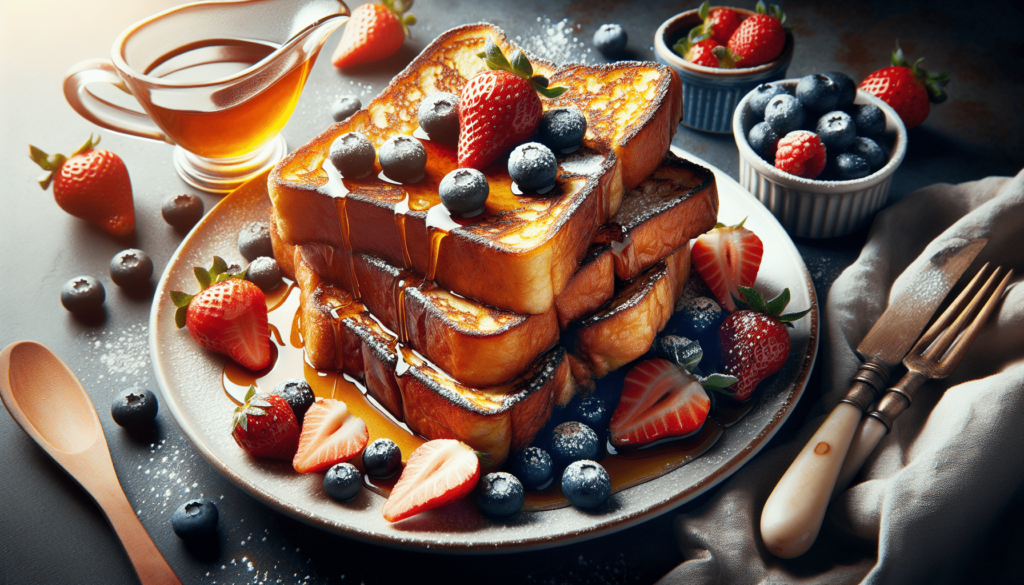
Have you ever wondered how to make the perfect slice of French toast, the kind that leaves everyone asking for more? French toast, with its golden-brown exterior and soft, custard-like interior, is a breakfast classic cherished by many across the globe. Whether you’re a seasoned cook or just beginning your culinary adventure, mastering this delightful dish can elevate your breakfast game to new heights.

The History of French Toast
To start, let’s take a quick journey through history. French toast’s origins are as golden as its crust. Although many associate it with France, this dish actually predates the country. The earliest known reference to French toast is in the 4th-century Roman cookbook, Apicius. Called “Pan Dulcis,” it involved soaking bread in milk, frying it, and then covering it with honey. This simple yet brilliant technique has woven its way through many cultures, each adding a personal touch that we now recognize in the various forms of this beloved dish.
Despite its ancient roots, modern French toast is largely credited to France due to the dish’s popularity there. French style is known as “pain perdu,” meaning “lost bread,” owing to its role in salvaging stale bread. Isn’t it nice to know that both its taste and its story have aged beautifully over time?
Choosing the Right Bread
The choice of bread is critical in making French toast. While you can technically use any bread, your choice can dramatically impact the texture and flavor of the end result.
Bread Types
- Brioche – Slightly sweet, rich, and buttery, brioche makes for a decadent French toast. It soaks up the custard beautifully without becoming soggy.
- Challah – Similar to brioche in terms of richness, challah provides a slightly denser texture. It’s a great alternative if you desire a wholesome flavor.
- Country White – A sturdy option that provides a balanced flavor, as it isn’t too sweet or heavy, making it suitable for those who prefer a classic take.
- Sourdough – For a tangy twist, sourdough’s firm texture and unique flavor can offer an interesting departure from the usual sweet notes.
It’s typically best to use slightly stale bread, as fresh bread might absorb too much liquid and become mushy. If your bread is fresh, you can dry it out by leaving it on the counter for a few hours or lightly toasting it in an oven.
Creating the Perfect Custard
The custard mix is the heart and soul of French toast, responsible for its lush, creamy interior. Here’s how to craft it.
Ingredients for Custard
- Eggs – Typically, the ratio is about one egg per two slices of bread. Eggs provide richness and firmness to the custard.
- Milk or Cream – Adding milk or cream balances the richness of the eggs, creating a creamy texture. Whole milk is preferred, but for extra indulgence, use half-and-half or heavy cream.
- Vanilla Extract – A splash of vanilla adds aromatic complexity and balances the eggy taste.
- Cinnamon and Nutmeg – Optional yet crucial for adding warmth and a hint of spice.
- Sugar – Just a bit to sweeten the mix. Adjust according to your sweetness preference.
Basic Custard Recipe
Here’s a basic recipe to get you started:
| Ingredient | Amount |
|---|---|
| Eggs | 2 large |
| Whole Milk | 1 cup |
| Vanilla Extract | 1 teaspoon |
| Ground Cinnamon | 1/2 teaspoon |
| Ground Nutmeg | 1/4 teaspoon |
| Sugar | 1 tablespoon |
To prepare, beat the eggs thoroughly before slowly integrating the milk or cream. Then, incorporate the vanilla, spices, and sugar. Ensuring these are well-mixed will give you a smooth and consistent custard without clumps.
Cooking Techniques
Now that you have your bread and custard ready, it’s time to cook. Let’s look into some techniques that can guarantee your French toast comes out perfect every time.
Soaking the Bread
Balance is key when soaking. You want enough custard to permeate the bread without oversaturating it. Each side typically needs about 20 to 30 seconds of soaking time. If your bread is quite thick or dryer, you might need a little longer.
Cooking Temperature
A medium-low heat is ideal, allowing the bread to cook thoroughly without burning the exterior. Using butter in the pan can also contribute to a golden crust with a rich taste, but be careful not to let it burn.
Perfect Timing
Cook each side for about 3 to 4 minutes. The exterior should turn golden-brown, while the inside remains soft and custard-like. Avoid pressing down the toast with a spatula; this can make it dense.

Time to Personalize Your Toast
Now the fun part—toppings! You can go sweet, savory, or a mix of both. Here are some popular options:
Sweet Toppings
- Maple Syrup – A classic; pure maple syrup balances perfectly with the rich toast.
- Powdered Sugar – A light dusting for a hint of sweetness.
- Fruit – Fresh berries, bananas, or sliced apples add freshness and a burst of flavor.
- Nut Butter – Almond or peanut butter for an extra layer of richness and protein.
Savory Additions
- Bacon or Sausage – Provides a salty contrast to the sweet components, adding depth and balance.
- Cheese – A sprinkle of feta or a dollop of ricotta can transform your toast into a gourmet experience.
- Herbs – A sprinkle of rosemary or thyme can elevate savory notes.
Common Mistakes to Avoid
Even in its simplicity, there are common pitfalls to be wary of:
- Oversoaking: This leads to soggy toast that falls apart.
- Too High Heat: Leads to burnt edges and undercooked centers.
- Scrambled Custard: Ensure all ingredients are well-integrated to avoid eggy lumps.
Bringing It All Together
By focusing on these fundamentals: the choice of bread, crafting a flavorful custard, mastering the soaking and cooking process, and getting creative with toppings, you’ll make French toast that is a hit every time.
So, what are you waiting for? Gather your ingredients, roll up those sleeves, and start turning simple slices of bread into culinary magic. Whether you’re making breakfast for a crowd or treating yourself to a cozy brunch, the perfect French toast is within your reach. Happy cooking!
Some of the links on this site are affiliate links, which means I may earn a small commission if you click on them and make a purchase, at no additional cost to you. As an Amazon Associate, I earn from qualifying purchases.


