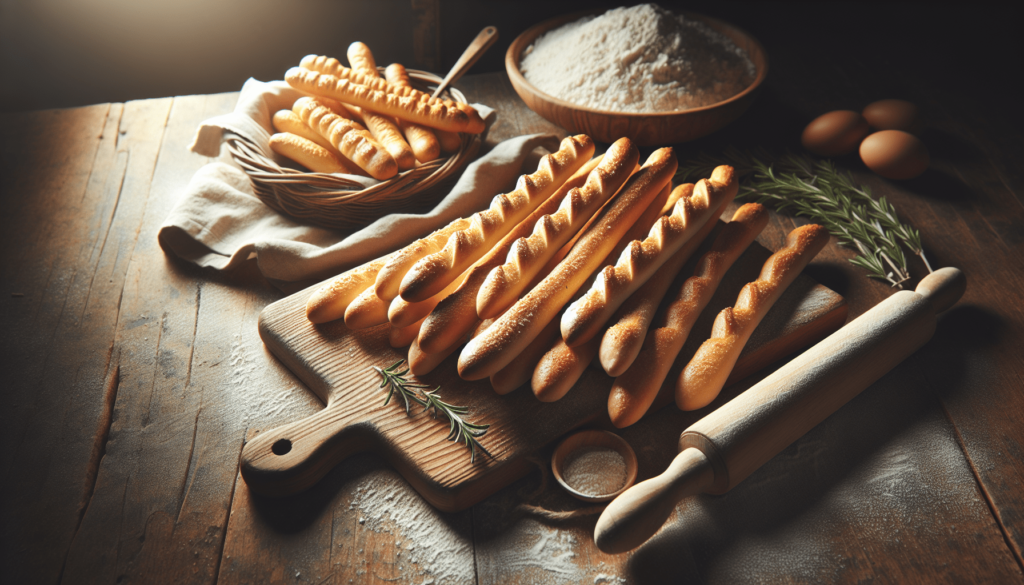
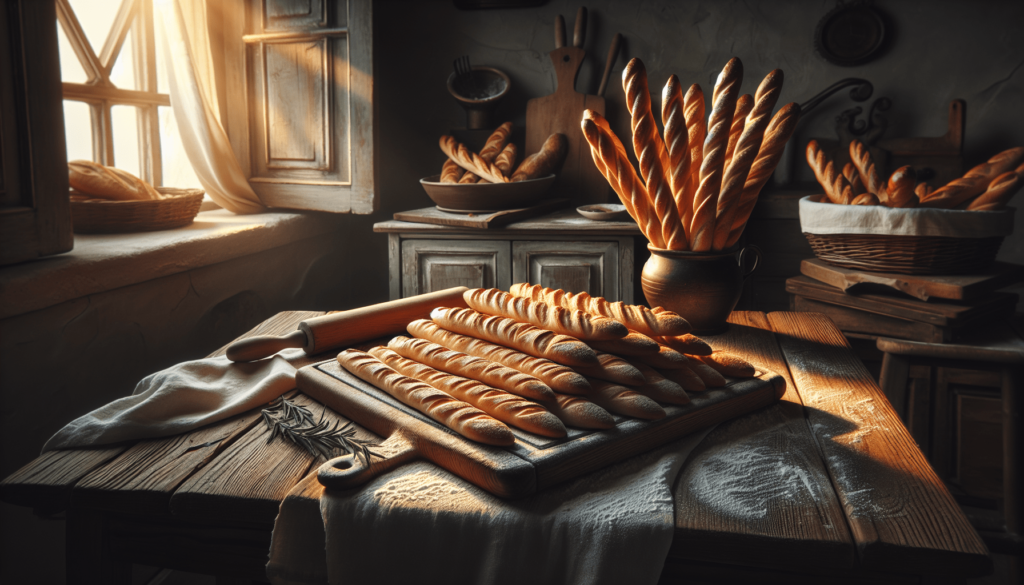
Have you ever found yourself dreaming of the perfect side dish that complements almost any meal but also stands proudly on its own? Something simple yet elegant, a treat that combines the crunch of a satisfying snack with the comforting warmth of freshly baked bread. If you’ve whispered “breadsticks” into the culinary ether, you’re not alone. Breadsticks are the unsung heroes of our dining experiences, often reserved for fancy dinners out or quick dips at our favorite Italian restaurants. But have you considered the joy and satisfaction of creating them right in your own kitchen?
Understanding Breadsticks: A Brief Introduction
Before we delve into the magical world of breadstick making, let’s take a moment to appreciate the humble breadstick itself. Originating from Italy, particularly renowned in the region of Piedmont, these slender, crispy delights offer a culinary experience that pairs wonderfully with soups, salads, or simply, on their own.
The Charm of Homemade Breadsticks
Why would you want to make breadsticks at home? The answer lies in the charm of homemade goods. Freshly baked breadsticks fill your home with an inviting aroma, provide a personal touch to meals, and allow you the creative flexibility to adjust flavors and textures to your liking.
Breadstick Varieties: Traditional and Modern Twists
While traditional Italian breadsticks, or grissini, are often thin and crisp, the world of breadsticks is as vast as your imagination allows. From soft and doughy versions to those infused with garlic, cheese, and herbs, there is plenty of room to innovate and personalize. By making breadsticks at home, you can embrace this diversity, creating variations that suit your palate or even dietary needs.
Getting Started: The Essential Ingredients
A great dish begins with great ingredients. For breadsticks, simplicity is key. Most recipes call for basic pantry staples, ensuring that preparation doesn’t feel like a chore but rather a welcome escape into culinary creativity.
Basic Ingredients
Here’s a simple breakdown of what you’ll need:
| Ingredient | Description |
|---|---|
| Flour | All-purpose flour works well, but feel free to experiment with whole wheat or a mix of various flours for added nutrients. |
| Water | Serves as the liquid base, helping to bind the dough together. |
| Yeast | Active dry yeast is the usual choice, providing the necessary leavening for that perfect texture. |
| Sugar | A small pinch to feed the yeast, enhancing the rise of your breadsticks. |
| Salt | Essential for flavor enhancement, bringing out the subtle notes of the dough. |
| Olive Oil | Offers moisture and flavor, contributing to the breadsticks’ pleasant golden crust. |
Additional Flavor Enhancers
To turn your basic breadsticks into flavor-packed sticks of joy, consider adding:
- Garlic Powder: For a hint of savory warmth.
- Herbs: Rosemary, thyme, or basil can elevate the taste profile.
- Cheese: Parmesan or cheddar can integrate beautifully for a rich, creamy addition.
- Seeds: Like sesame or poppy seeds, for added texture and flavor.

Step-by-Step Breadstick Recipe
Now that you’re equipped with your ingredients, let’s move on to the fun part: turning them into delicious breadsticks.
Preparing the Dough
-
Activate the Yeast: In a small bowl, dissolve 2 teaspoons of sugar into 1 cup of warm water. Sprinkle 2 ¼ teaspoons of active dry yeast over the top and let it sit for about 5 to 10 minutes until it’s frothy.
-
Mix the Dry Ingredients: In a large mixing bowl, combine 3 ½ cups of flour with 1 teaspoon of salt, your choice of herbs, and garlic powder if using.
-
Combine Wet and Dry Ingredients: Add the activated yeast mixture and 3 tablespoons of olive oil into the dry ingredients. Stir until the mixture forms a sticky dough.
-
Knead the Dough: Transfer the dough to a floured surface and knead for about 5-7 minutes until smooth and elastic. If the dough is too sticky, sprinkle in a bit more flour.
-
First Rise: Place the dough back into a lightly oiled bowl, cover with a damp cloth, and let it rise in a warm spot until it doubles in size, about 1 to 2 hours.
Shaping and Baking the Breadsticks
-
Preheat and Prepare: Preheat your oven to 400°F (200°C). Line a baking sheet with parchment paper.
-
Shape the Breadsticks: Once the dough has risen, punch it down and divide it into equal portions, depending on how thick or thin you prefer your breadsticks. Roll each piece into a long, slender stick.
-
Second Rise: Arrange the breadsticks on the baking sheet and allow them to rise for another 20-30 minutes.
-
Bake to Perfection: Brush the breadsticks with olive oil and sprinkle with your choice of seasoning. Bake in the preheated oven for 15-20 minutes or until golden brown and crisp.
Tips for Perfection
- Monitor Oven Temperature: Every oven is different, so keep an eye on your breadsticks. Look for a golden-brown color and a firm texture.
- Creative Variations: Consider experimenting with toppings like sea salt flakes, sesame seeds, or even a dusting of parmesan.
Storing and Serving Your Breadsticks
Once baked, breadsticks can be stored in an airtight container for up to a week, retaining most of their crispness. If they start to soften, a quick spin in the oven can revive their crunch.
Ideal Pairings
Breadsticks make a perfect companion to:
- Soups: Serve alongside creamy tomato or minestrone.
- Salads: Particularly Caesar or a fresh garden mix.
- Dips: Like hummus or a balsamic reduction with olive oil.
The Art of Innovations
Feel free to experiment with different flours, such as gluten-free mixes or adding spices like cayenne for a little heat. Sweet versions, like cinnamon sugar breadsticks, can also be a delightful twist, turning these into a dessert option. The beauty of breadsticks lies in their versatility, allowing you to mold them to fit any culinary occasion or whim.

Troubleshooting Common Issues
Baking, like any art, comes with its challenges. Here’s how to troubleshoot some common breadstick issues:
Problem: Dense Texture
- Solution: Ensure your yeast is fresh and active. Dense breadsticks often arise from inactive yeast or not enough rising time.
Problem: Bland Taste
- Solution: Don’t skimp on the salt. Season generously and consider adding herbs directly into the dough for more flavor.
Problem: Not Crispy Enough
- Solution: Extend the baking time slightly. You want to achieve a firm exterior, signaling that the breadsticks have cooked through.
Embracing the Breadstick Journey
As you embark on your breadstick adventure, remember the process is as rewarding as the final product. Baking invites you into a world of comfort and creativity, offering a pause from the hustle and bustle of daily life. Whether you stick to the classic routes or forge your own path with inventive flavors, each breadstick baked will bring a sense of satisfaction and delight to your table that only homemade bread can provide.
In conclusion, cooking up delicious breadsticks in style is not merely about following a recipe—it’s about adding your personal touch and savoring the simple joys of baking. Enjoy your culinary endeavors, and may your kitchen be perpetually infused with the tantalizing aroma of freshly baked breadsticks!
Some of the links on this site are affiliate links, which means I may earn a small commission if you click on them and make a purchase, at no additional cost to you. As an Amazon Associate, I earn from qualifying purchases.


