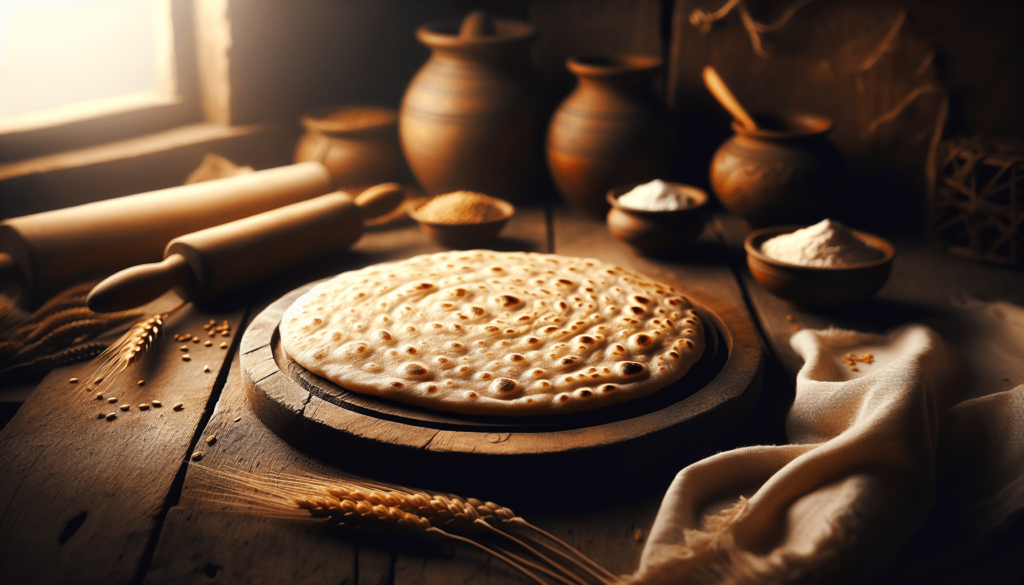
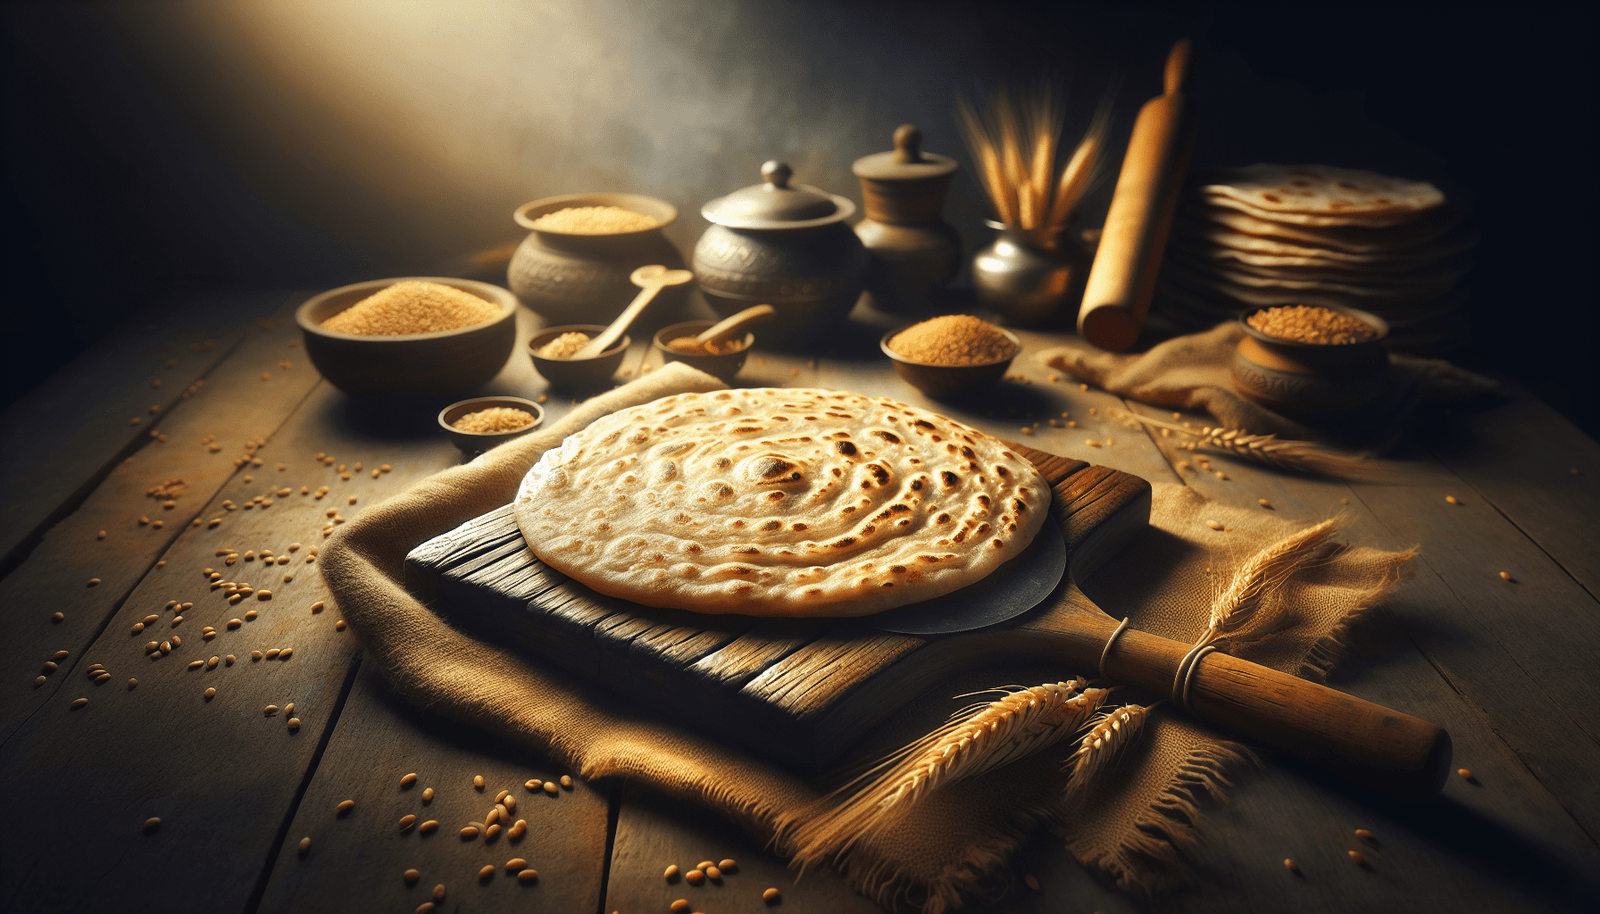
Have you ever wondered what it takes to make that perfect chapati that not only looks appealing but also tastes delicious? This journey into understanding and creating chapati will guide you through the process in a way that’s as easy as having a chat with a friend. Let’s explore this delightful staple that’s cherished across so many homes, particularly in Indian cuisine.
What is Chapati?
Chapati, also known as roti, is a type of unleavened flatbread that hails from the Indian subcontinent. It’s a fundamental part of meals in India, Pakistan, Nepal, Bangladesh, and even among the Indian diaspora around the world. Made primarily from whole-wheat flour and water, chapatis are known for their soft and pliable texture, making them a perfect accompaniment to a wide variety of dishes.
Historical and Cultural Significance
Chapati isn’t just food; it’s a part of daily tradition and culture. With its roots going back centuries, chapati has evolved yet remained a staple in many households. It’s not uncommon to find families gathered around, each taking turns to perfect their rolling technique — a practice that not only feeds the belly but warms the heart through communal cooking.
Ingredients for Making Chapati
To get started with making chapati, you’ll need some basic ingredients. What makes chapati so appealing and universally loved is its simplicity — you’ll only need three main ingredients:
| Ingredient | Quantity |
|---|---|
| Whole Wheat Flour (Atta) | 2 cups |
| Water | About 3/4 cup |
| Salt (Optional) | A pinch |
Understanding the Ingredients
Each of these ingredients plays a crucial role in the making of chapati. Whole wheat flour, or atta, is the star of the show, offering not only structure but also nutritional value. Water is vital to bring the dough together, providing the necessary moisture for kneading. Salt, though optional, can add a touch of flavor, enhancing the natural taste of the wheat.

Making the Dough
The foundation of a great chapati lies in the dough. Here’s a step-by-step approach to guide you through the process:
Step 1: Measuring and Mixing
Begin by measuring two cups of whole wheat flour into a large mixing bowl. If you’re using salt for flavor, add a pinch now. Gradually add water to the flour, as you gently combine the mixture with your fingers. The goal is to create a soft yet firm dough.
Step 2: Kneading the Dough
Kneading is perhaps the most crucial step in chapati making. It involves working the dough to develop gluten, which contributes to the chewy texture. Spend at least 8-10 minutes kneading until the dough is smooth and elastic. If the dough feels too sticky, dust a bit more flour; if it’s too dry, add a few drops of water.
Step 3: Resting the Dough
Once your dough is well-kneaded, let it rest. This resting period is essential as it allows the gluten to relax, making it easier to roll out later. Cover the bowl with a damp cloth and set it aside for about 20-30 minutes.
Rolling Out the Chapatis
With your dough prepared, the next step is rolling it into perfect discs. This step requires a bit of practice but is immensely satisfying once mastered.
Step 4: Portioning the Dough
Divide the rested dough into equal-sized balls. For uniform chapatis, aim for balls about the size of a golf ball. Keep these dough balls covered with the damp cloth to prevent them from drying out.
Step 5: Rolling Technique
Using a rolling pin, roll a dough ball into a flat, round disc. Aim for a thickness of about 2-3 mm and a diameter of 6-8 inches. It’s important to keep the pressure on the rolling pin even and rotate the chapati as you roll to maintain a round shape.

Cooking the Chapati
Once you’ve rolled a chapati, it’s time for the final step — cooking. This process transforms a simple dough disc into a delightful, puffed bread.
Step 6: Heating the Pan
Heat a tawa or flat griddle over medium heat. The pan should be hot before you place the chapati on it, ensuring even and quick cooking.
Step 7: Cooking on the Pan
Place the rolled chapati onto the hot surface. Let it cook for about 30 seconds to a minute or until you begin to see bubbles form on the surface. Flip the chapati using a spatula and cook the other side similarly.
Step 8: Puffing the Chapati
For that signature puff, you may need to apply gentle pressure either directly onto the chapati using a cloth or a spatula. This causes steam to be trapped inside, puffing up the chapati while cooking the interior.
Step 9: Final Touch
Once puffed and golden brown spots appear on both sides, remove the chapati from the pan. Brush with ghee or butter if desired, adding a rich, flavorful element, but this is optional.
Tips and Tricks for Perfect Chapati
As with any recipe, there are nuances and tricks that can help you excel in chapati making:
- Patience is Key: Don’t rush the kneading or resting process. Both are vital for a soft chapati.
- Dust Sparingly: Use flour sparingly when rolling, as too much can make the chapati dry.
- Consistent Heat: Ensure your pan maintains consistent heat. Too hot, and the chapati will burn; too cold, and it will become chewy.
- Practice Makes Perfect: Rolling perfectly round chapatis comes with practice. Don’t be discouraged by irregular shapes initially.
Nutritional Benefits of Chapati
Chapatis are not just tasty; they’re nutritious too. Made from whole wheat flour, they are a good source of fiber and complex carbohydrates. This makes them a healthier alternative to refined flour breads, supporting digestive health and providing sustained energy.
| Nutrient | Benefit |
|---|---|
| Fiber | Aids in digestion |
| Carbohydrates | Provides energy |
| Proteins | Supports muscle repair |
| Vitamins & Minerals | Aids in overall health |
Variations and Add-ons
Chapati is incredibly versatile. While the classic version is beloved, there are several exciting variations and add-ons you can try:
Masala Chapati
Add spices such as cumin, coriander, and turmeric directly into the flour for a flavorful twist. This brings a burst of flavor and can be a great accompaniment for mild curries.
Stuffed Chapati
Experiment with stuffing chapatis with mixtures of potato, paneer, or lentils. Roll the dough slightly thicker and place the filling before sealing and rolling again. This turns a simple chapati into a meal on its own.
Flavored Oils and Finishes
While cooking, brush the chapati with infused oils or flavored butter, such as garlic or herb, to experience a different flavor profile.
Serving Suggestions for Chapati
Chapatis are wonderfully versatile and can be paired with a myriad of dishes. Here are some classic pairings:
- Vegetable Curry: The soft chapati seamlessly scoops curry, making each bite delicious.
- Dal/Lentils: The simplicity of chapati complements the rich, earthy flavors of lentils.
- Yogurt/Raita: A cooling accompaniment, perfect for balancing spicy dishes.
- Pickles and Chutneys: Add a tangy or sweet kick to your meal.
Storage Tips
Store chapatis in a container lined with a cloth. This retains moisture, keeping them soft. You can also freeze them in a zip-lock bag — just reheat on a pan before serving.
Troubleshooting Common Chapati Problems
Even with the best efforts, sometimes challenges arise. Here are solutions to common chapati issues:
- Dry Chapati: Ensure adequate kneading and resting. Also, try rolling with looser dough.
- Tough Chapati: This can result from overcooking. Adjust your heat and cooking times.
- Chapati Not Puffing: Ensure your dough isn’t too dry, and practice light rolling for even thickness.
Conclusion
Making chapati is both an art and a delightful experience that becomes more rewarding with practice and patience. Its simplicity and versatility not only make it a beloved staple but also a comforting link to tradition, culture, and the warmth of shared meals. Whether you’re enjoying it with a hearty curry, a simple dal, or on its own, chapati welcomes you into a world of rich flavors and textures. As you continue to make chapati, you become part of a tradition that has nourished many and brought people together for centuries.
Some of the links on this site are affiliate links, which means I may earn a small commission if you click on them and make a purchase, at no additional cost to you. As an Amazon Associate, I earn from qualifying purchases.


