Have you ever craved a creamy, delightful dessert that melts in your mouth with each bite? If so, you’re in for a treat! Cheesecake, an indulgent dessert loved by many, is often perceived as a challenging dish to master. However, what if I told you that making a delicious cheesecake doesn’t have to be difficult? In fact, with the right approach and a few handy tips, you can create a beautiful and mouth-watering cheesecake in your own kitchen with ease.
Understanding Cheesecake: A Quick Overview
Before jumping into the recipe details, it’s helpful to understand what makes cheesecake so unique and irresistible. Cheesecake typically consists of two layers: a crunchy base made of crushed cookies or graham crackers and a thick, creamy layer of sweetened cream cheese, eggs, and sugar. Some variations may include flavors such as chocolate, fruits, or spices, while others maintain the classic vanilla taste.
The Anatomy of a Great Cheesecake
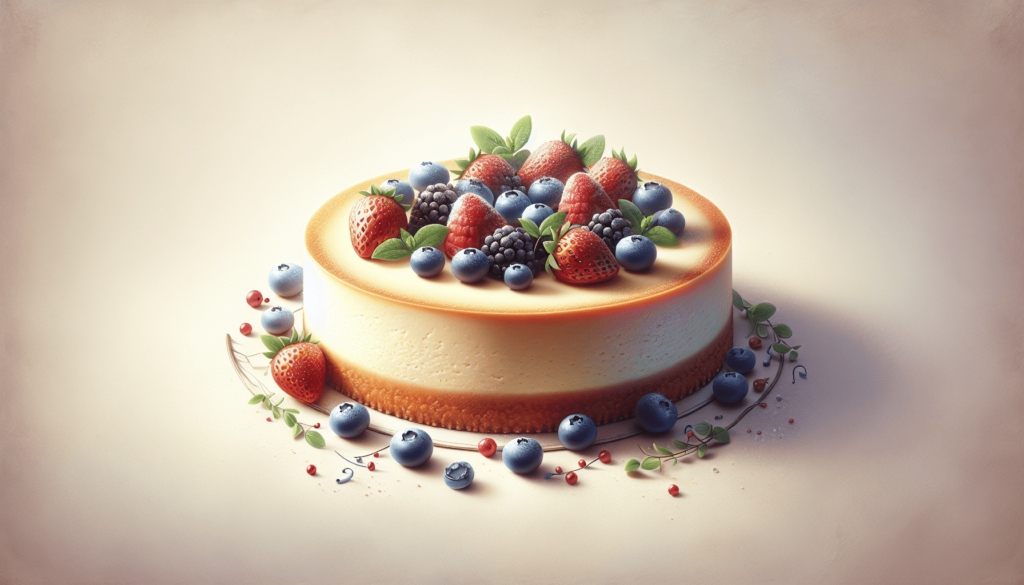
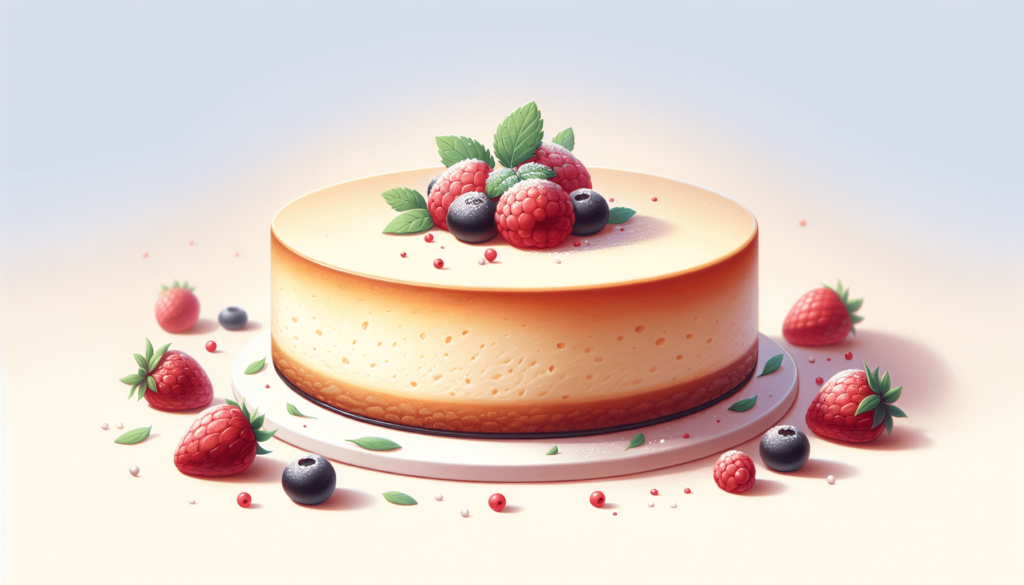
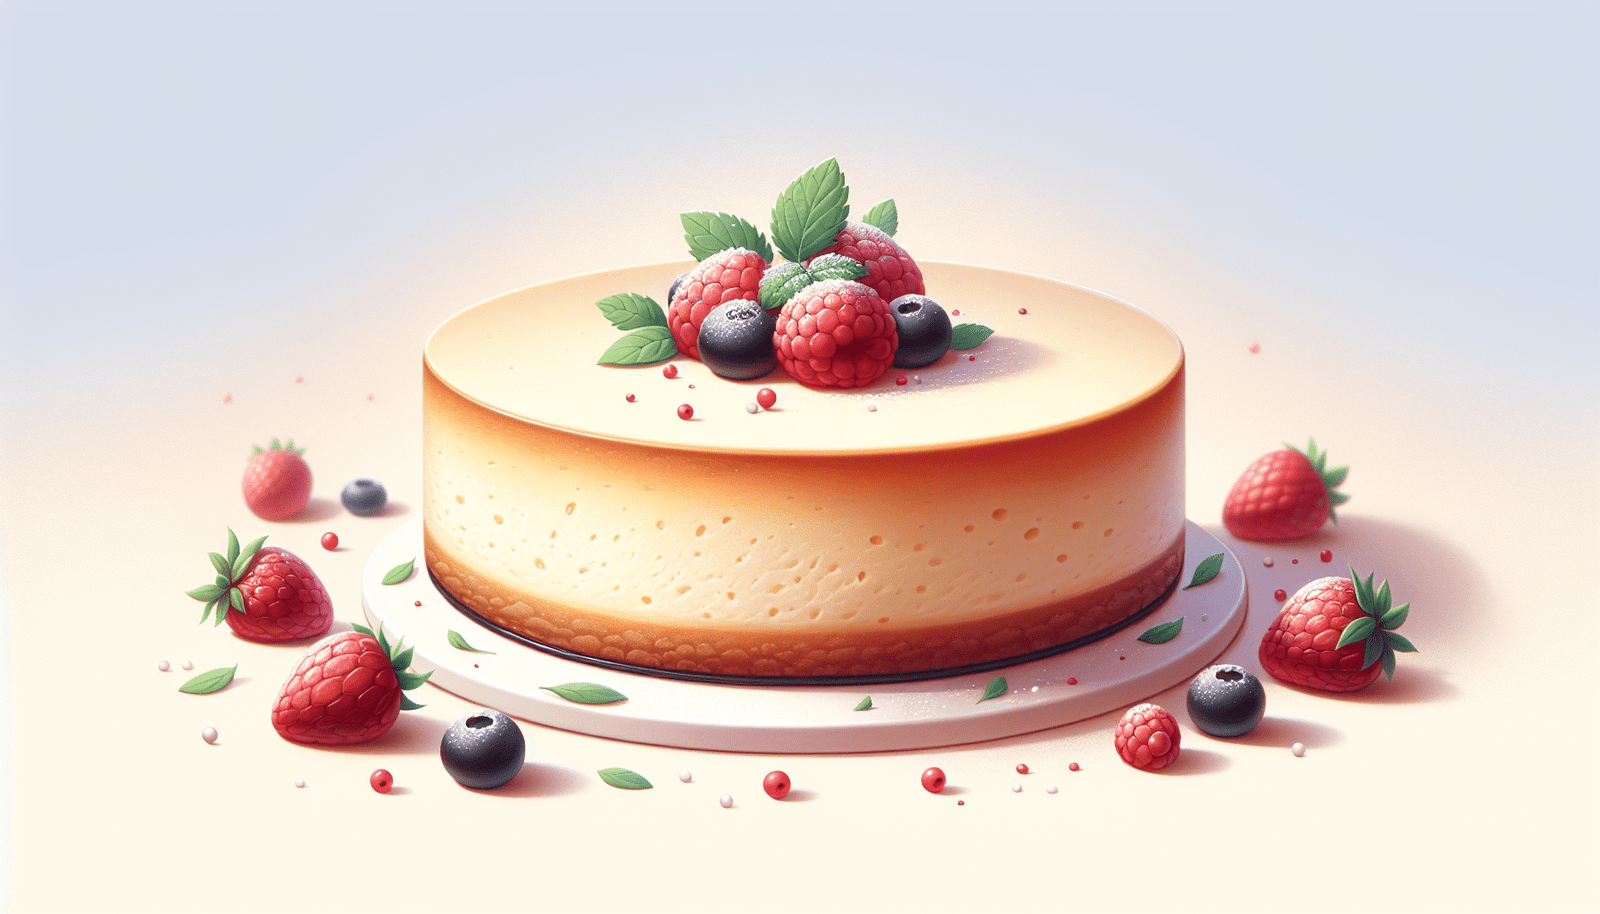
The perfect cheesecake is all about balance. The crust provides a sturdy foundation with a satisfying crunch that complements the smooth and creamy filling. Speaking of filling, its texture should be rich and silky, with just the right amount of sweetness. The flavor profile can be simple or involve intricate combinations, but should always be harmonious. Finally, the cheesecake needs an enticing appearance—with a light golden top or perhaps a glossy fruit glaze.
Essential Tools and Ingredients
Now that you’re familiar with what makes cheesecake so delectable, let’s arm you with the necessary tools and ingredients.
Tools You’ll Need
Creating a cheesecake isn’t a daunting task, especially when you have the right equipment. Here’s a list of what you’ll need to make the process as smooth as the dessert itself:
- Springform Pan: The detachable sides of this specialty pan make it much easier to release the cheesecake without disturbing its shape.
- Mixing Bowls: You’ll need a few bowls to separately prepare the crust and filling.
- Electric Mixer: A handheld mixer is great, but a stand mixer makes the preparation even more seamless.
- Spatula: A good-quality spatula will help you scrape every bit of mixture and spread it evenly.
- Measuring Cups and Spoons: Accuracy is key in baking.
- Baking Sheet: To catch any potential drips or spills from the springform pan.
Ingredients You’ll Need
This easy cheesecake recipe calls for a concise list of ingredients that you may already have in your pantry or that are easily obtainable from any store. Here’s what you’ll need:
| Ingredient | Quantity |
|---|---|
| Graham crackers | 1 ½ cups (crushed) |
| Unsalted butter | ¼ cup (melted) |
| Cream cheese | 4 cups (softened) |
| Granulated sugar | 1 cup |
| Eggs | 3 large |
| Pure vanilla extract | 1 teaspoon |
| Sour cream | 1 cup |
| Lemon juice | 2 tablespoons (optional for a slight tang) |
With these tools and ingredients ready, you’re all set to begin your cheesecake-making adventure!

Step-by-Step Easy Cheesecake Recipe
Here, we’ll go through the process step-by-step to ensure your cheesecake baking journey is as enjoyable and successful as possible.
Step 1: Prepare the Crust
- Preheat Your Oven: Start by heating your oven to 325°F (163°C). This is essential for even baking.
- Crush the Graham Crackers: Use a food processor or a zip-top bag and rolling pin to crush them into fine crumbs.
- Mix Crumbs and Butter: In a bowl, combine the crushed graham crackers with melted butter. Stir until the crumbs are evenly coated and resemble wet sand.
- Press into Pan: Press the mixture into the bottom of your springform pan. Use the back of a spoon or a flat-bottomed glass to even out the crust.
- Bake the Crust: Bake for 10 minutes to set the crust. Remove it from the oven and let it cool while you prepare the filling.
Step 2: Make the Creamy Filling
- Beat the Cream Cheese: In a large bowl, beat the softened cream cheese with an electric mixer until smooth and creamy, with no lumps.
- Add Sugar Gradually: While mixing on low, slowly add the granulated sugar. Mix until well combined.
- Incorporate the Eggs: Add the eggs one at a time, beating after each addition to fully incorporate them into the mixture.
- Mix in Vanilla and Sour Cream: Add the vanilla extract and sour cream. These ingredients contribute to that desired creamy texture and rich flavor.
- Enhance with Lemon: If you enjoy a slight tang, mix in the lemon juice. It’s optional but adds a refreshing note.
Step 3: Assemble and Bake
- Pour the Filling over the Crust: Pour the cream cheese filling over the prepared crust, spreading it out with a spatula to make it even.
- Prepare a Water Bath: Place the springform pan on a baking sheet, and carefully add hot water to create a water bath. This helps prevent cracks by maintaining a humid baking environment.
- Bake Until Set: Bake the cheesecake at 325°F (163°C) for 55-70 minutes. The center should be slightly jiggly but set.
Step 4: Cooling and Chilling
- Let it Cool: Once baked, turn off the oven and crack the door slightly. Let the cheesecake cool in the oven for about an hour.
- Refrigerate: Transfer the cooled cheesecake to the fridge, allowing it to chill and firm up for at least 4 hours or overnight.
Step 5: Serve and Enjoy
- Remove from the Pan: Carefully remove the sides of the springform pan. Use a knife along the edges if needed.
- Slice and Serve: Use a sharp knife to slice your cheesecake, wiping the blade clean between cuts for neat slices.
Tips for Success and Troubleshooting
While making cheesecake, a few potential challenges may arise. Here are some tips to ensure your cheesecake adventure is trouble-free.
Avoid Cracks in the Cheesecake
- Room Temperature Ingredients: Ensure all dairy components are at room temperature before using. This helps them blend smoothly.
- Not Over-Mixing: Over-mixing can incorporate too much air, resulting in cracks.
- Consistent Baking Temperature: Use an oven thermometer to verify your oven’s accuracy.
- Water Bath: The steam created by a water bath stabilizes the environment, helping to prevent cracks.
Troubleshooting Tips
- Cracks No Big Deal: Should cracks appear, don’t worry—they won’t affect the taste. You can also cover them with fruit or chocolate toppings.
- Lumpy Filling: If your filling turns out lumpy, ensure cream cheese is well-softened and beat thoroughly.
- Undercooked Center: If you notice the center is too jiggly, place it back in the oven and check every 5 minutes until it sets.

Variations and Creative Spins
While a classic cheesecake is undisputedly delightful, don’t hesitate to let your creativity shine by adding unique flavors.
Creative Toppings
- Fruit Glazes: Cover the chilled cheesecake with a layer of glossy fruit jelly or compote.
- Chocolate Ganache: Pour a layer of silky smooth chocolate ganache over the top for a decadent finish.
- Nuts or Whipped Cream: Dust with toasted nuts or pipe some fresh whipped cream for added texture.
Flavor Infusions
- Swirled Additions: Create stunning patterns by swirling fruit purees, caramel, or chocolate into the cheesecake before baking.
- Infused Cheesecakes: Try adding zest from citrus fruits or spices like cinnamon and nutmeg to infuse flavors into your cheesecake base.
Storing Your Cheesecake
If you have leftovers (or need to prepare in advance), here’s how you can store your cheesecake to maintain its freshness and taste.
- Refrigeration: Store your cheesecake, tightly covered, in the fridge for up to one week.
- Freezing: Cheesecakes freeze exceptionally well. Wrap tightly in plastic wrap followed by aluminum foil. Store in the freezer for up to three months. Thaw overnight in the fridge before serving.
Conclusion
Now that you’ve seen how easy it is to create this delicious dessert, it’s time to gather your ingredients and unleash your inner pastry chef. This simple cheesecake recipe is versatile, tasty, and perfect for any occasion, be it a fancy dinner party or a casual weekend treat. With every step laid out for you and tips to guide you, you’re well-equipped to prepare a cheesecake that will not only impress you but also delight anyone lucky enough to enjoy a slice. Happy baking, and may your cheesecake turn out creamy, dreamy, and utterly scrumptious!
Some of the links on this site are affiliate links, which means I may earn a small commission if you click on them and make a purchase, at no additional cost to you. As an Amazon Associate, I earn from qualifying purchases.


