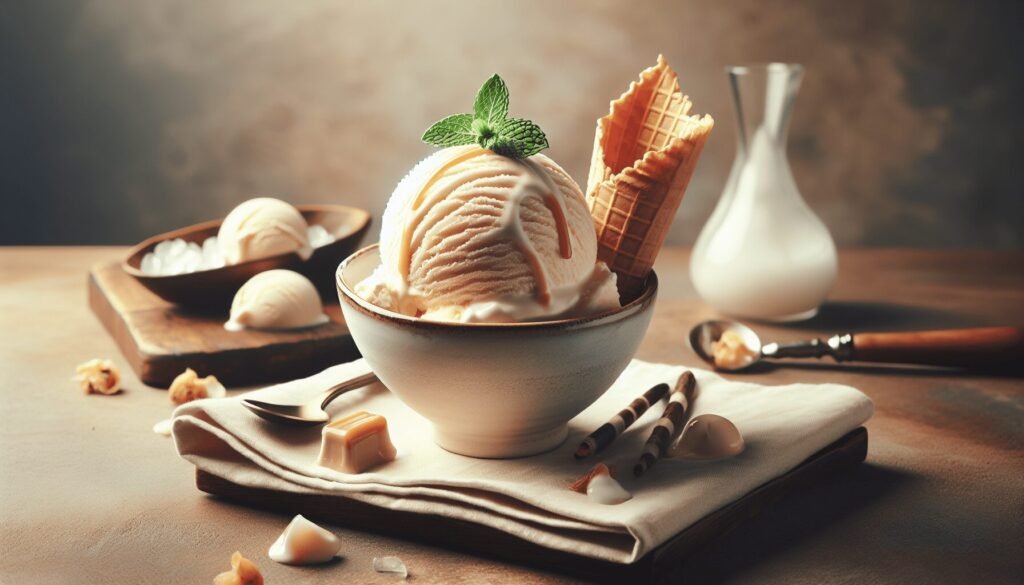
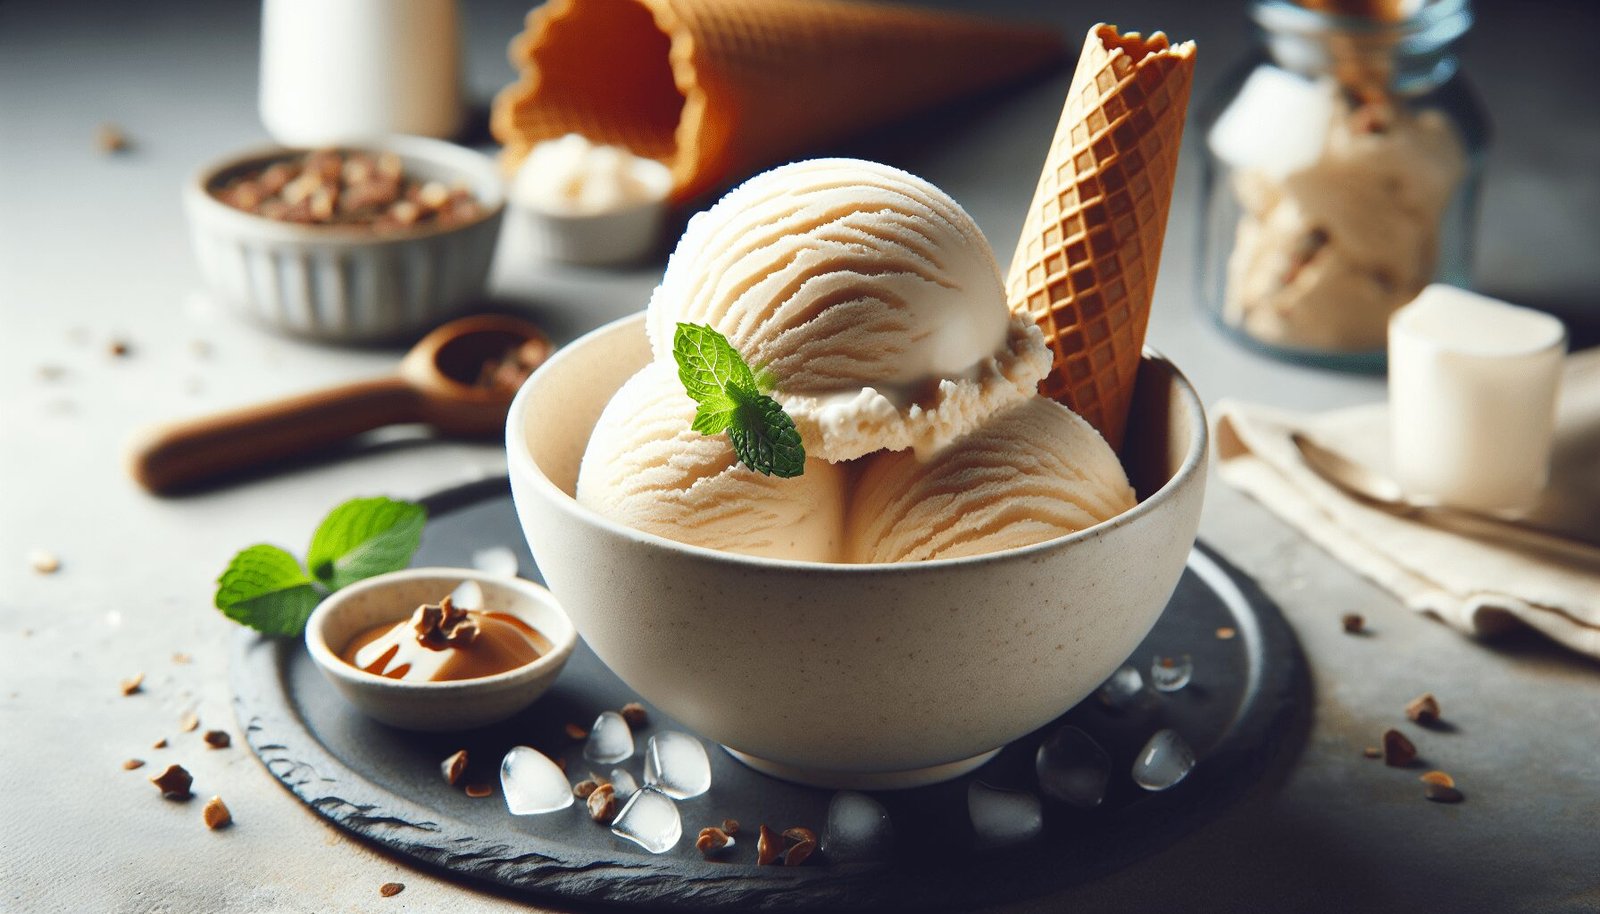
Have you ever craved a creamy scoop of homemade vanilla ice cream and wondered how to make it just right at home? Making your own ice cream can seem daunting, but it’s an indulgent delight that’s simpler than you might think. A well-crafted vanilla ice cream isn’t just a treat; it’s an experience that you can savor and create with love. Let’s take a look at how you can perfect this classic dessert in your kitchen, turning basic ingredients into something truly delightful.

Understanding Vanilla’s Role in Ice Cream
Before you begin, it’s helpful to understand why vanilla is such a cornerstone in ice cream making. The flavor of vanilla is versatile and subtle. Unlike more robust flavorings, it enhances rather than overwhelms the taste of your dessert. It’s all about balance, and finding that perfect harmony will allow you to appreciate the creaminess and richness of your creation.
Types of Vanilla You Can Use
Vanilla comes in several forms, each adding a distinct character to your ice cream. Here’s a glimpse into the variety of vanilla options you may consider:
| Type | Description |
|---|---|
| Vanilla Extract | The most commonly used form, extracted from vanilla beans. |
| Vanilla Bean | Offers the most pure and intense vanilla flavor with lovely speckles. |
| Vanilla Paste | A thick paste made from vanilla extract and vanilla bean specks. |
| Imitation Vanilla | A synthetic version, often less expensive and less flavorful. |
Choosing between these options depends on your preference for flavor depth and budget considerations.
Gathering Ingredients and Tools
Making vanilla ice cream requires only a few key ingredients, but selecting quality components is crucial. The richness and flavor of your ice cream depend heavily on what you put into it.
Essential Ingredients
Here’s what you’ll need:
- Whole Milk: Provides creaminess and balance in texture.
- Heavy Cream: Ensures a rich, luxurious consistency.
- Sugar: Sweetness level can be adjusted to taste.
- Egg Yolks: Emulsifies the mixture, giving it a smooth body.
- Vanilla: Choose based on the flavors you’re aiming for.
- Salt: Enhances all the flavors, even in sweet combinations.
These ingredients form the foundation of your ice cream, so make sure they are fresh and of the best quality you can find.
Required Tools
Having the right tools will streamline your process and improve results. Here’s a list of essentials:
- Ice Cream Maker: Can be an electric model or a manual hand-crank.
- Mixing Bowls: Various sizes for preparing and combining your ingredients.
- Whisk: For mixing the custard mixture until smooth.
- Heavy Saucepan: To gently heat your ingredients without burning.
- Thermometer: Ensures your custard reaches the correct temperature for safe consumption.
- Freezer-Safe Container: For storing your freshly made ice cream.
These tools will help you achieve the desired results effortlessly.
Preparing Your Ice Cream Base
The preparation stage sets the stage for the overall success of your ice cream. It’s all about patience and precision.
Crafting the Custard
Begin by preparing your custard, which is the base of your ice cream. Here’s a step-by-step guide:
-
Mixing Ingredients: In a saucepan, combine the milk, heavy cream, and half of your sugar. Bring this mixture to a gentle simmer over medium heat.
-
Whisk the Egg Yolks: In a separate bowl, whisk the egg yolks with the remaining sugar until the mixture is pale and slightly thickened.
-
Temper the Yolks: Slowly add a cup of the warm milk mixture into the yolks while continually whisking to avoid curdling. This step is crucial for a smooth texture.
-
Combine and Cook: Pour the yolk mixture back into the saucepan with the remaining warm milk. Stir constantly as you cook over medium heat until it thickens enough to coat the back of a spoon.
-
Chilling: Once your custard reaches the right consistency, remove it from heat, and add your vanilla and a pinch of salt. Cool the mixture down quickly by placing the bowl in an ice bath or refrigerating for several hours.
Importance of Chilling
Properly chilling your custard is vital. It ensures that the flavors meld together and the texture remains smooth. This step also prepares the custard for the freezing stage, allowing your ice cream to churn to perfection.
Churning the Ice Cream
Turning your chilled custard into creamy ice cream involves churning. This is where your ice cream maker comes into play.
The Churning Process
Churning incorporates air into the mixture, giving your ice cream a light, airy texture. Follow your ice cream maker’s instructions carefully:
-
Prep the Maker: Ensure your ice cream maker is cold enough. This may require pre-freezing components depending on the model.
-
Pour and Churn: Pour your chilled custard into the machine. Don’t rush this step, as optimal results require proper air incorporation.
-
Consistency Check: After around 20-30 minutes, the mixture should reach the desired consistency—firm but not solid.
Dealing with Overruns
Overrun is the increase in volume due to air introduction during churning. Homemade ice cream usually has less overrun than commercial versions, making it denser and more flavorful. Aim for about 20-30% overrun for a perfect balance of lightness and creaminess.

Freezing and Storing Your Ice Cream
Once your ice cream has churned, the final step is to freeze it to its enjoyed consistency.
Proper Freezing Techniques
Transfer the soft ice cream from the machine to a pre-chilled, freezer-safe container. Cover the surface with plastic wrap or wax paper before adding the lid. This prevents ice crystals from forming on the surface, which can spoil the texture.
Storage Tips
It’s best to store your homemade vanilla ice cream in the back of the freezer where the temperature is most stable. Homemade ice cream doesn’t contain preservatives, so try to enjoy it within a couple of weeks for the best flavor.
Adding Variations to Standard Vanilla
One of the joys of making vanilla ice cream at home is the opportunity to customize. With a solid base, the possibilities are endless.
Flavor Infusions and Mix-Ins
Consider these delightful options to elevate your vanilla ice cream:
- Fruit Purees: Swirl in raspberry or mango puree for a fruity twist.
- Nuts and Chocolates: Add chopped nuts or chocolate chips for texture.
- Herbs and Spices: Infuse with lavender or cinnamon for unique flavor notes.
Creating Swirls and Layers
For a more aesthetically pleasing touch, layer different flavors by freezing them in stages. For instance, combine vanilla with a rich fudge ripple or buttery caramel swirl.
Troubleshooting Common Issues
Even with the best recipes, small issues can arise. Here’s how you can address some common problems:
Ice Cream Too Hard
If your ice cream sets too hard, you may have frozen it too quickly or at too low a temperature. Allow it to soften slightly at room temperature before serving, or add a splash more sugar or alcohol in your next batch to lower the freezing point slightly.
Ice Crystals Forming
Crystallization can occur if the custard wasn’t fully chilled or was allowed to melt and refreeze. Ensure thorough chilling before and during the ice cream-making process and avoid partially refreezing thawed ice cream.
Enjoy Your Homemade Vanilla Ice Cream
Now that you have your stunningly creamy and fragrant vanilla ice cream, it’s time to revel in your creation. Try pairing it with desserts like freshly baked pies or warm brownies. Or, keep it simple—a single scoop in a waffle cone allows the vanilla’s elegance to shine.
Making vanilla ice cream from scratch may seem like a labor of love, but every scoop is a testament to the rewarding and delicious effort you’ve poured into it. The process shows what’s possible when simple ingredients come together with care and enthusiasm. Enjoy every delightful lick!
Some of the links on this site are affiliate links, which means I may earn a small commission if you click on them and make a purchase, at no additional cost to you. As an Amazon Associate, I earn from qualifying purchases.


